This is my second attempt to modify a Nerf Maverick for steampunk costuming purposes. (My first attempt was in March 2010.)
I will eventually post all of the photos of this process online, but this blog post is specifically to address the color scheme. Rather than paint over and over until I like the colors, as I did with the prototype, I have decided to use Photoshop to try and apply different color schemes to see how I like them.
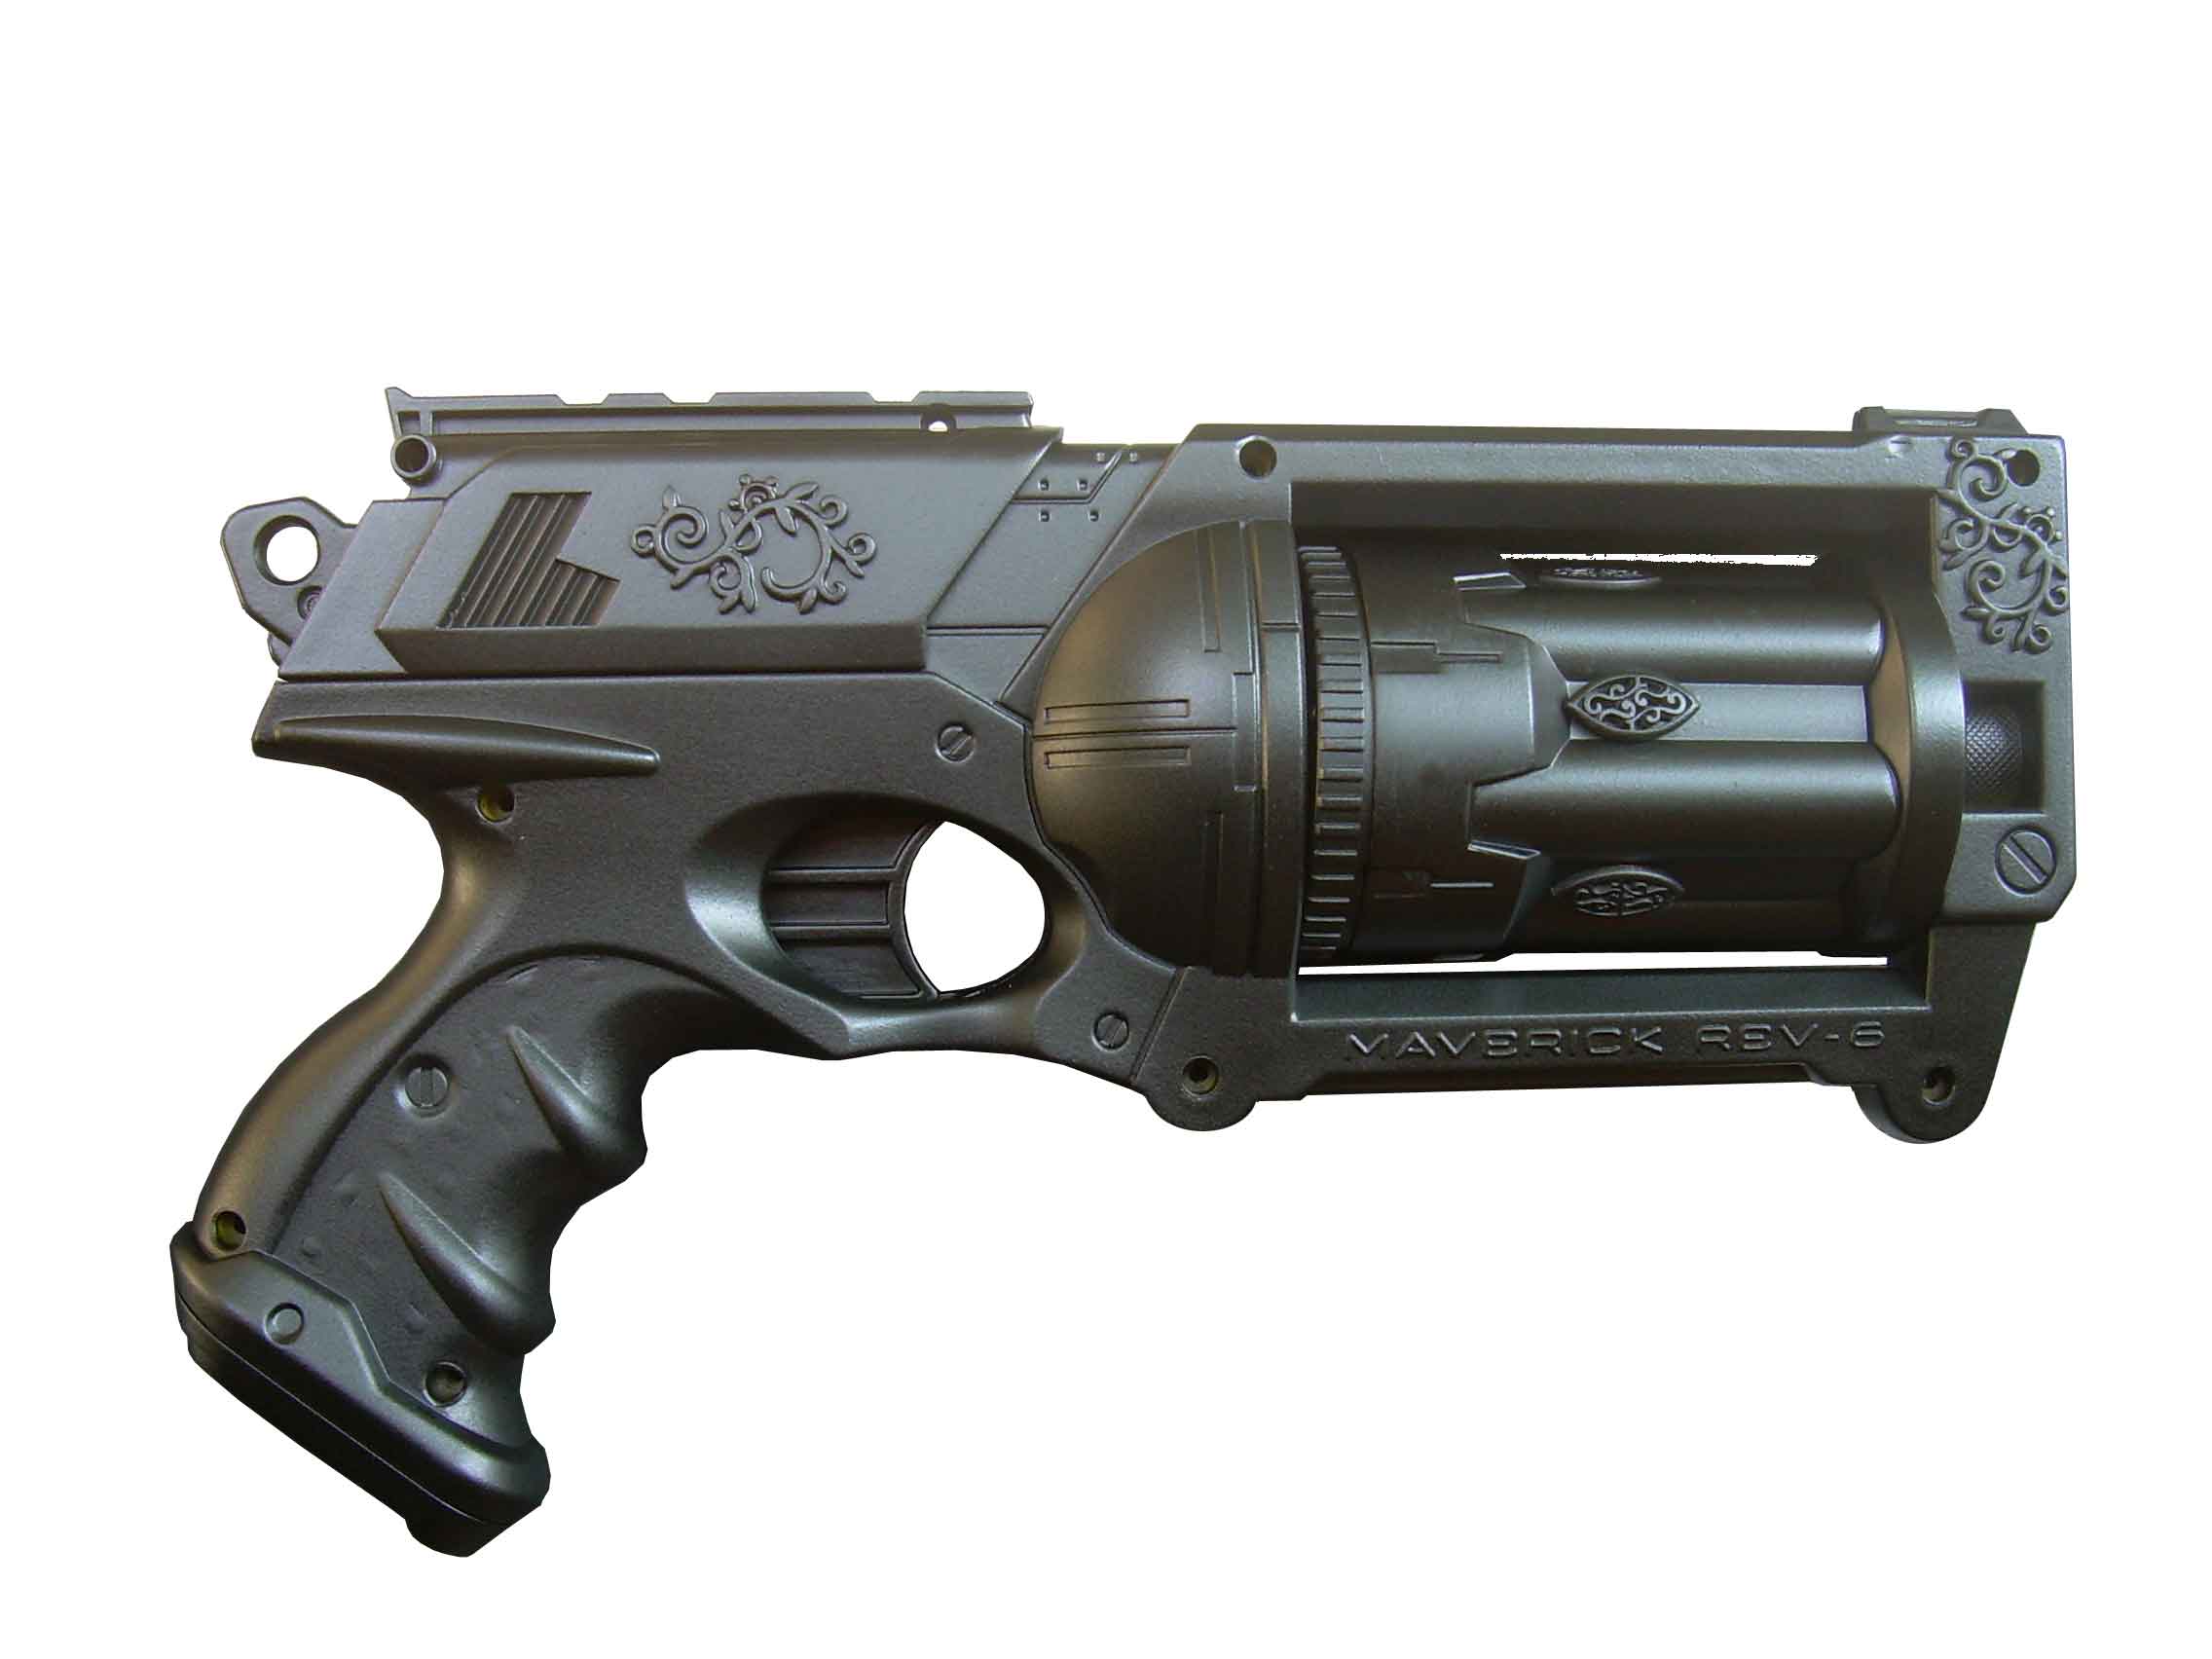
This is a photo of the gun with most of the parts placed where they are supposed to go, with the base coat of satin black.
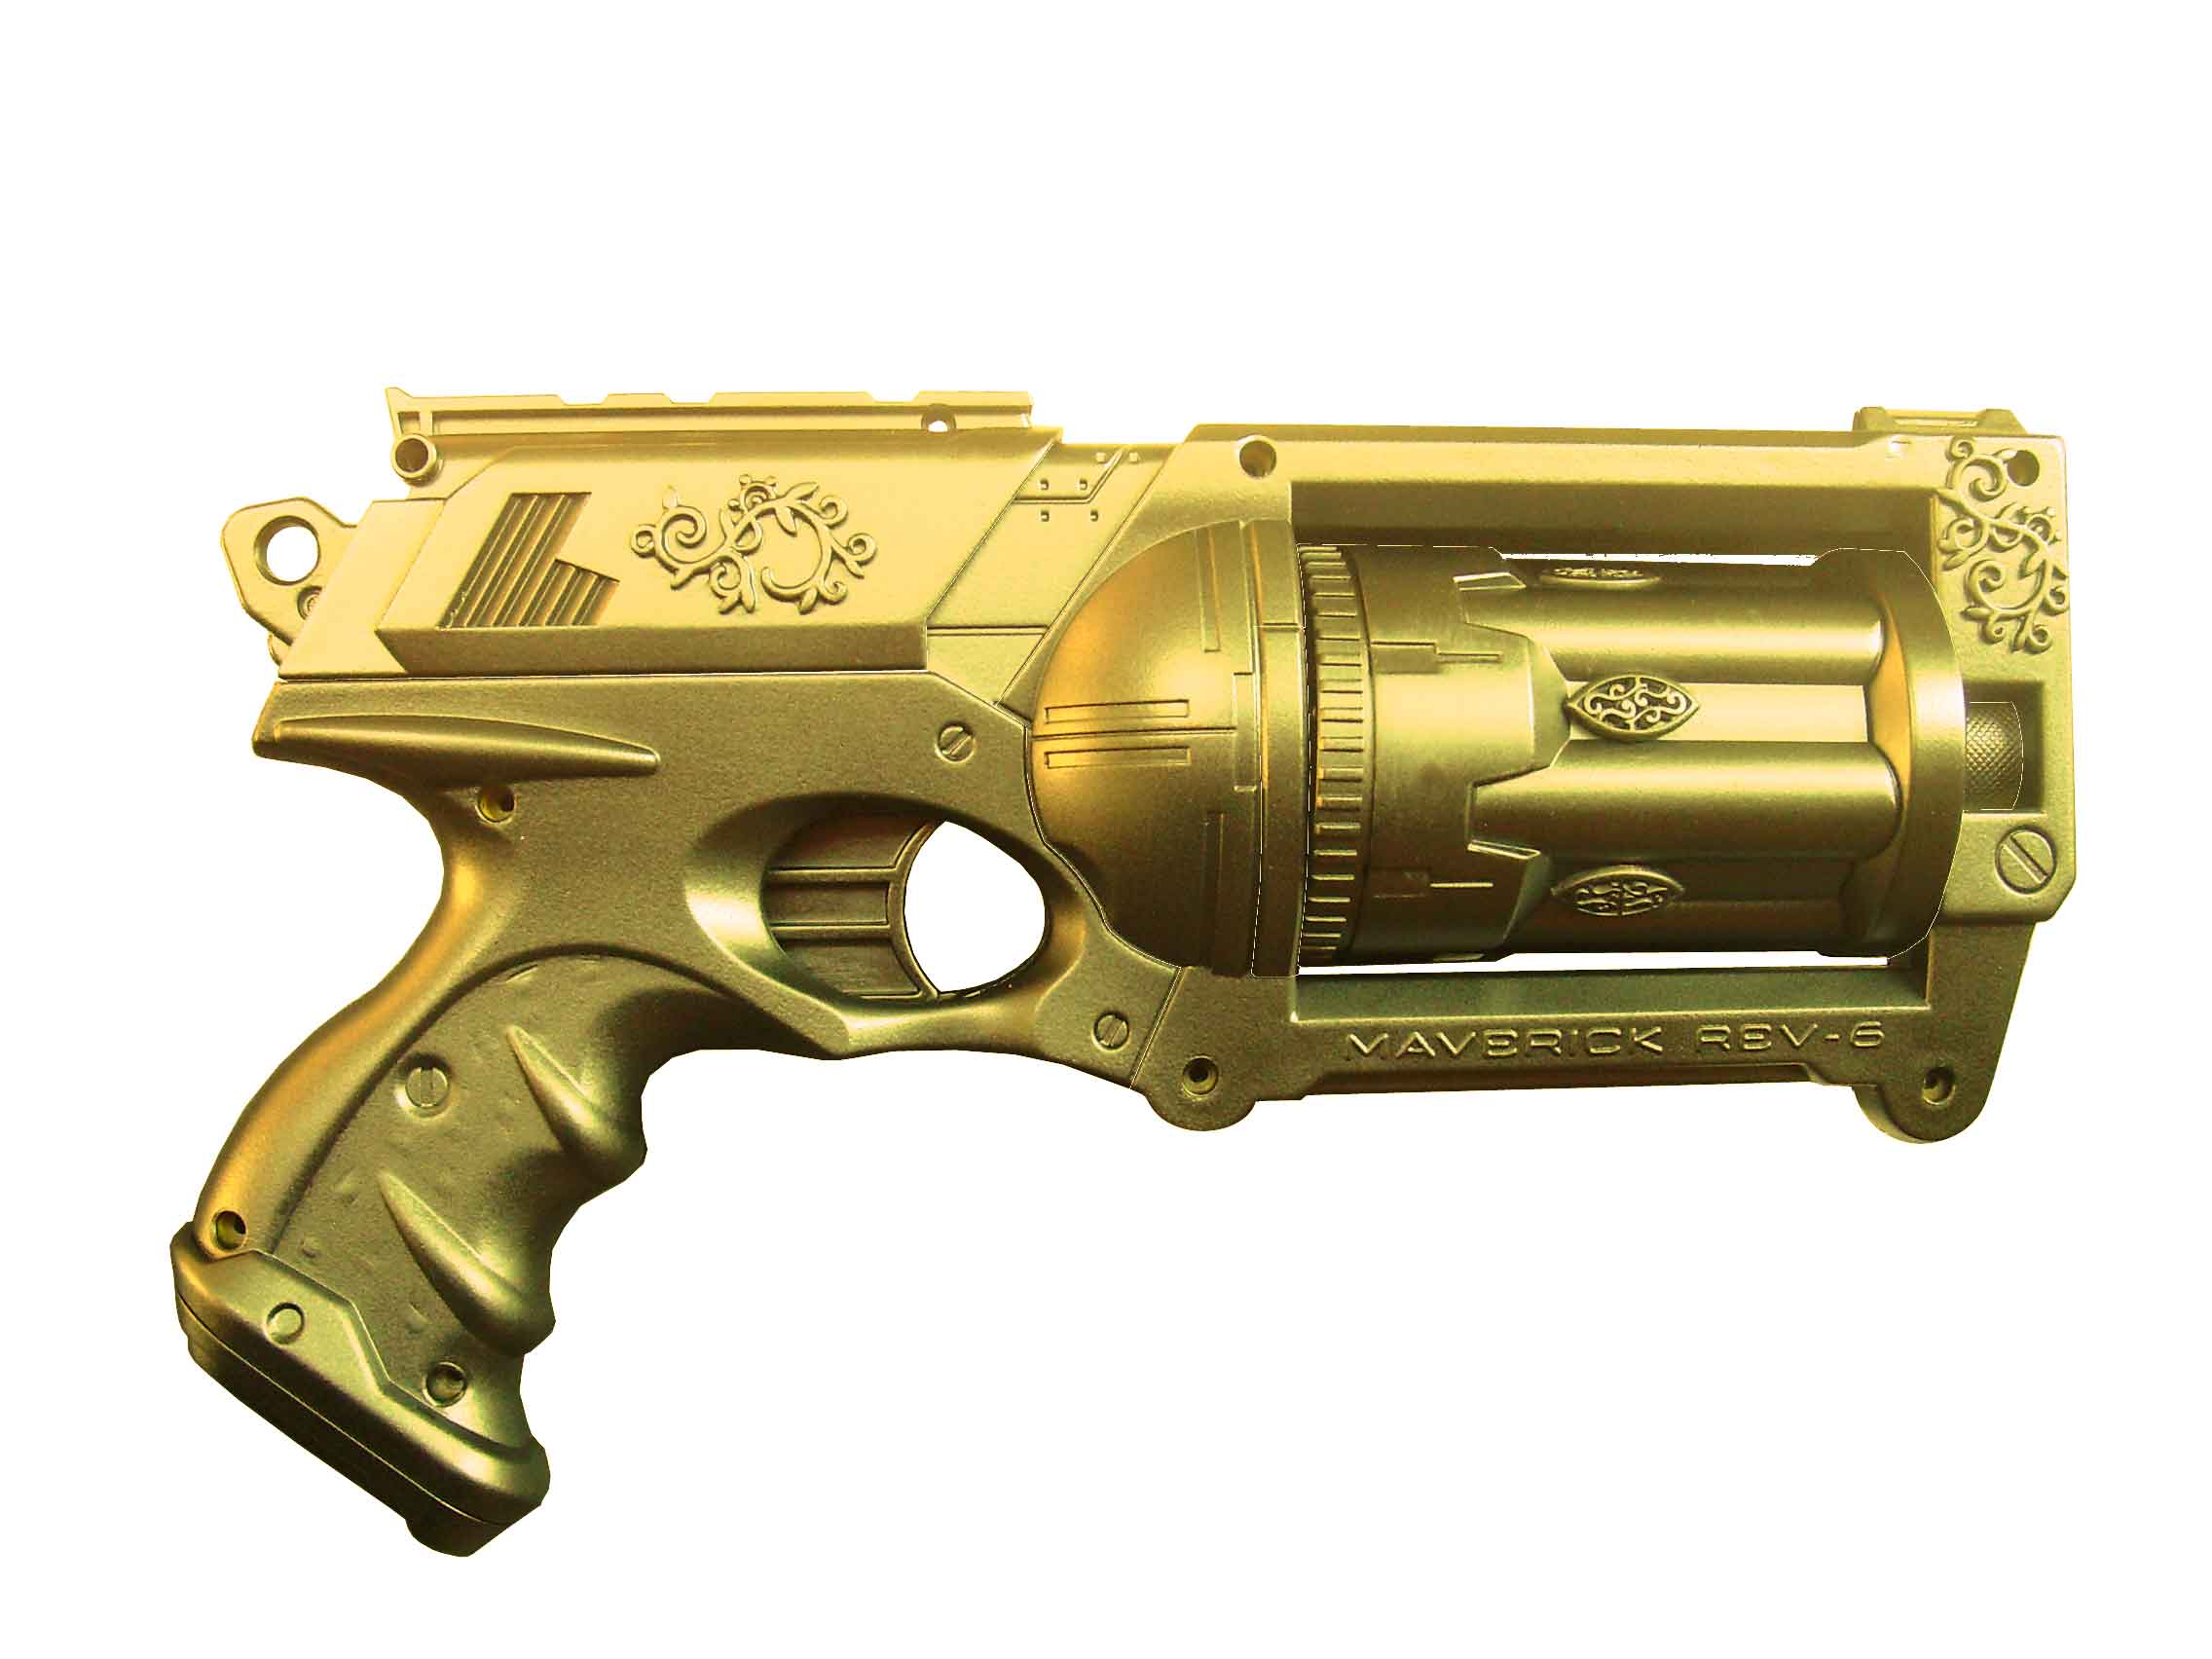
This is what it would look like painted solid gold.
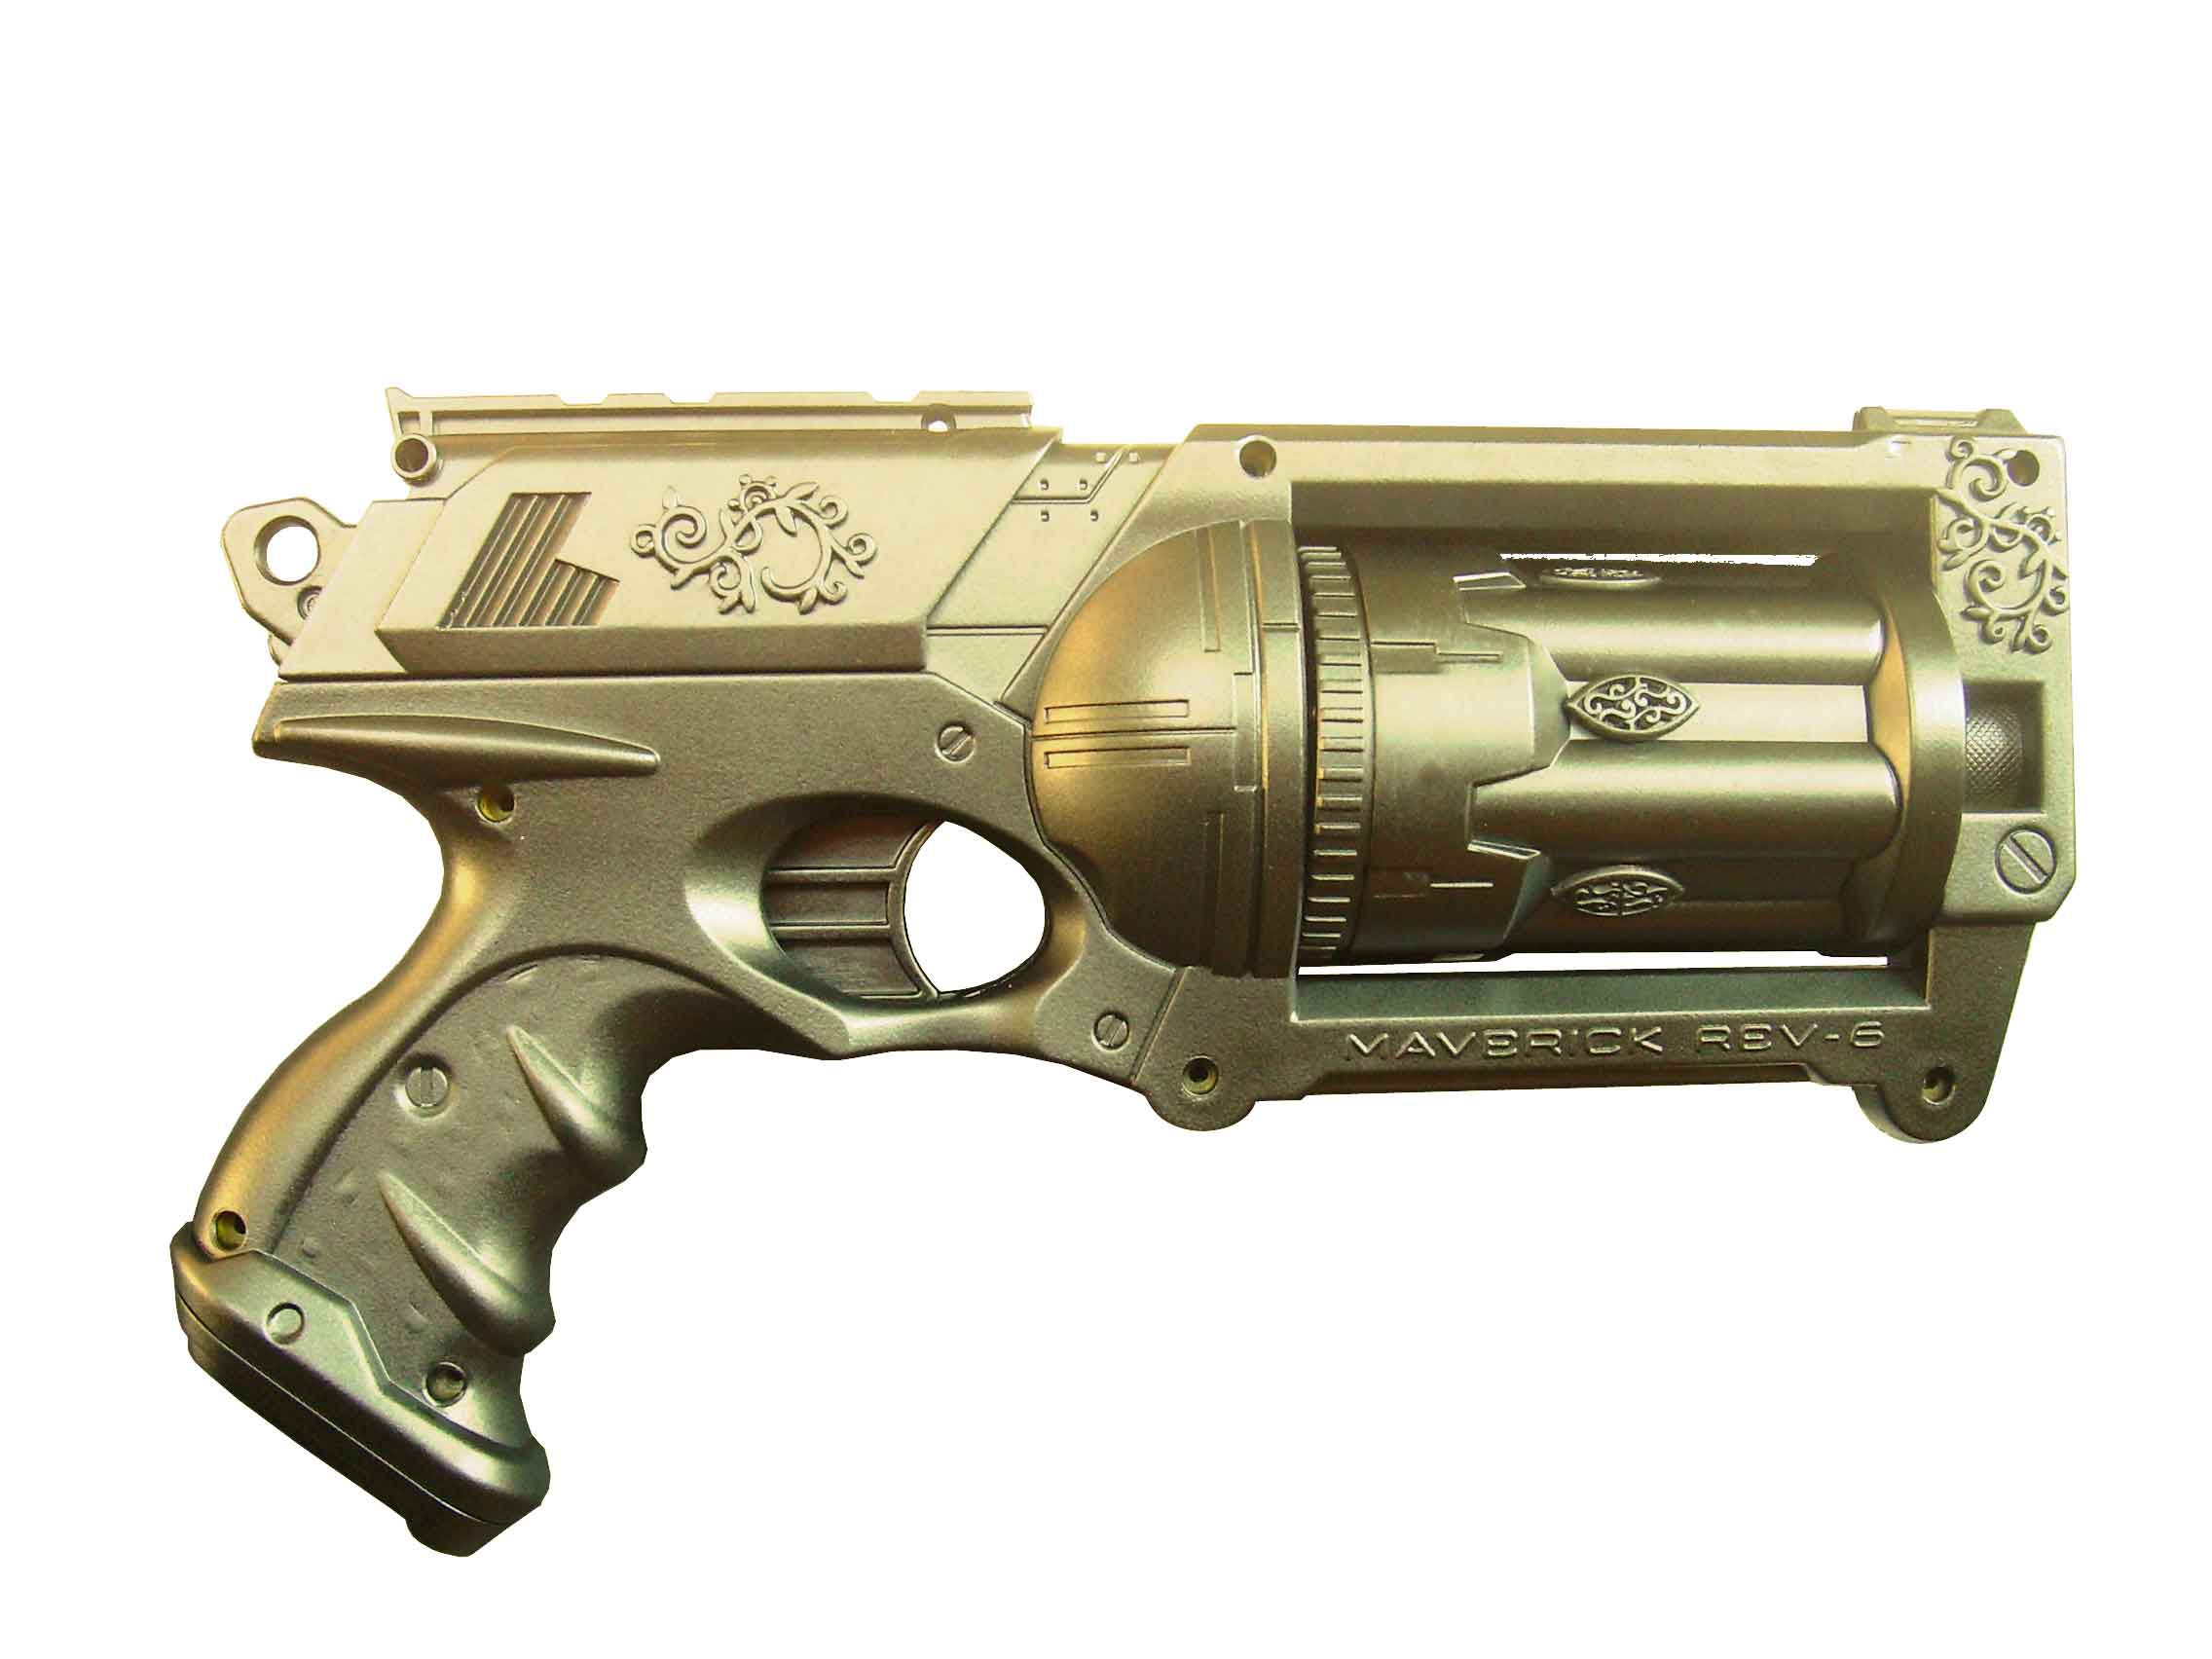
This is what it would look like painted solid brass.
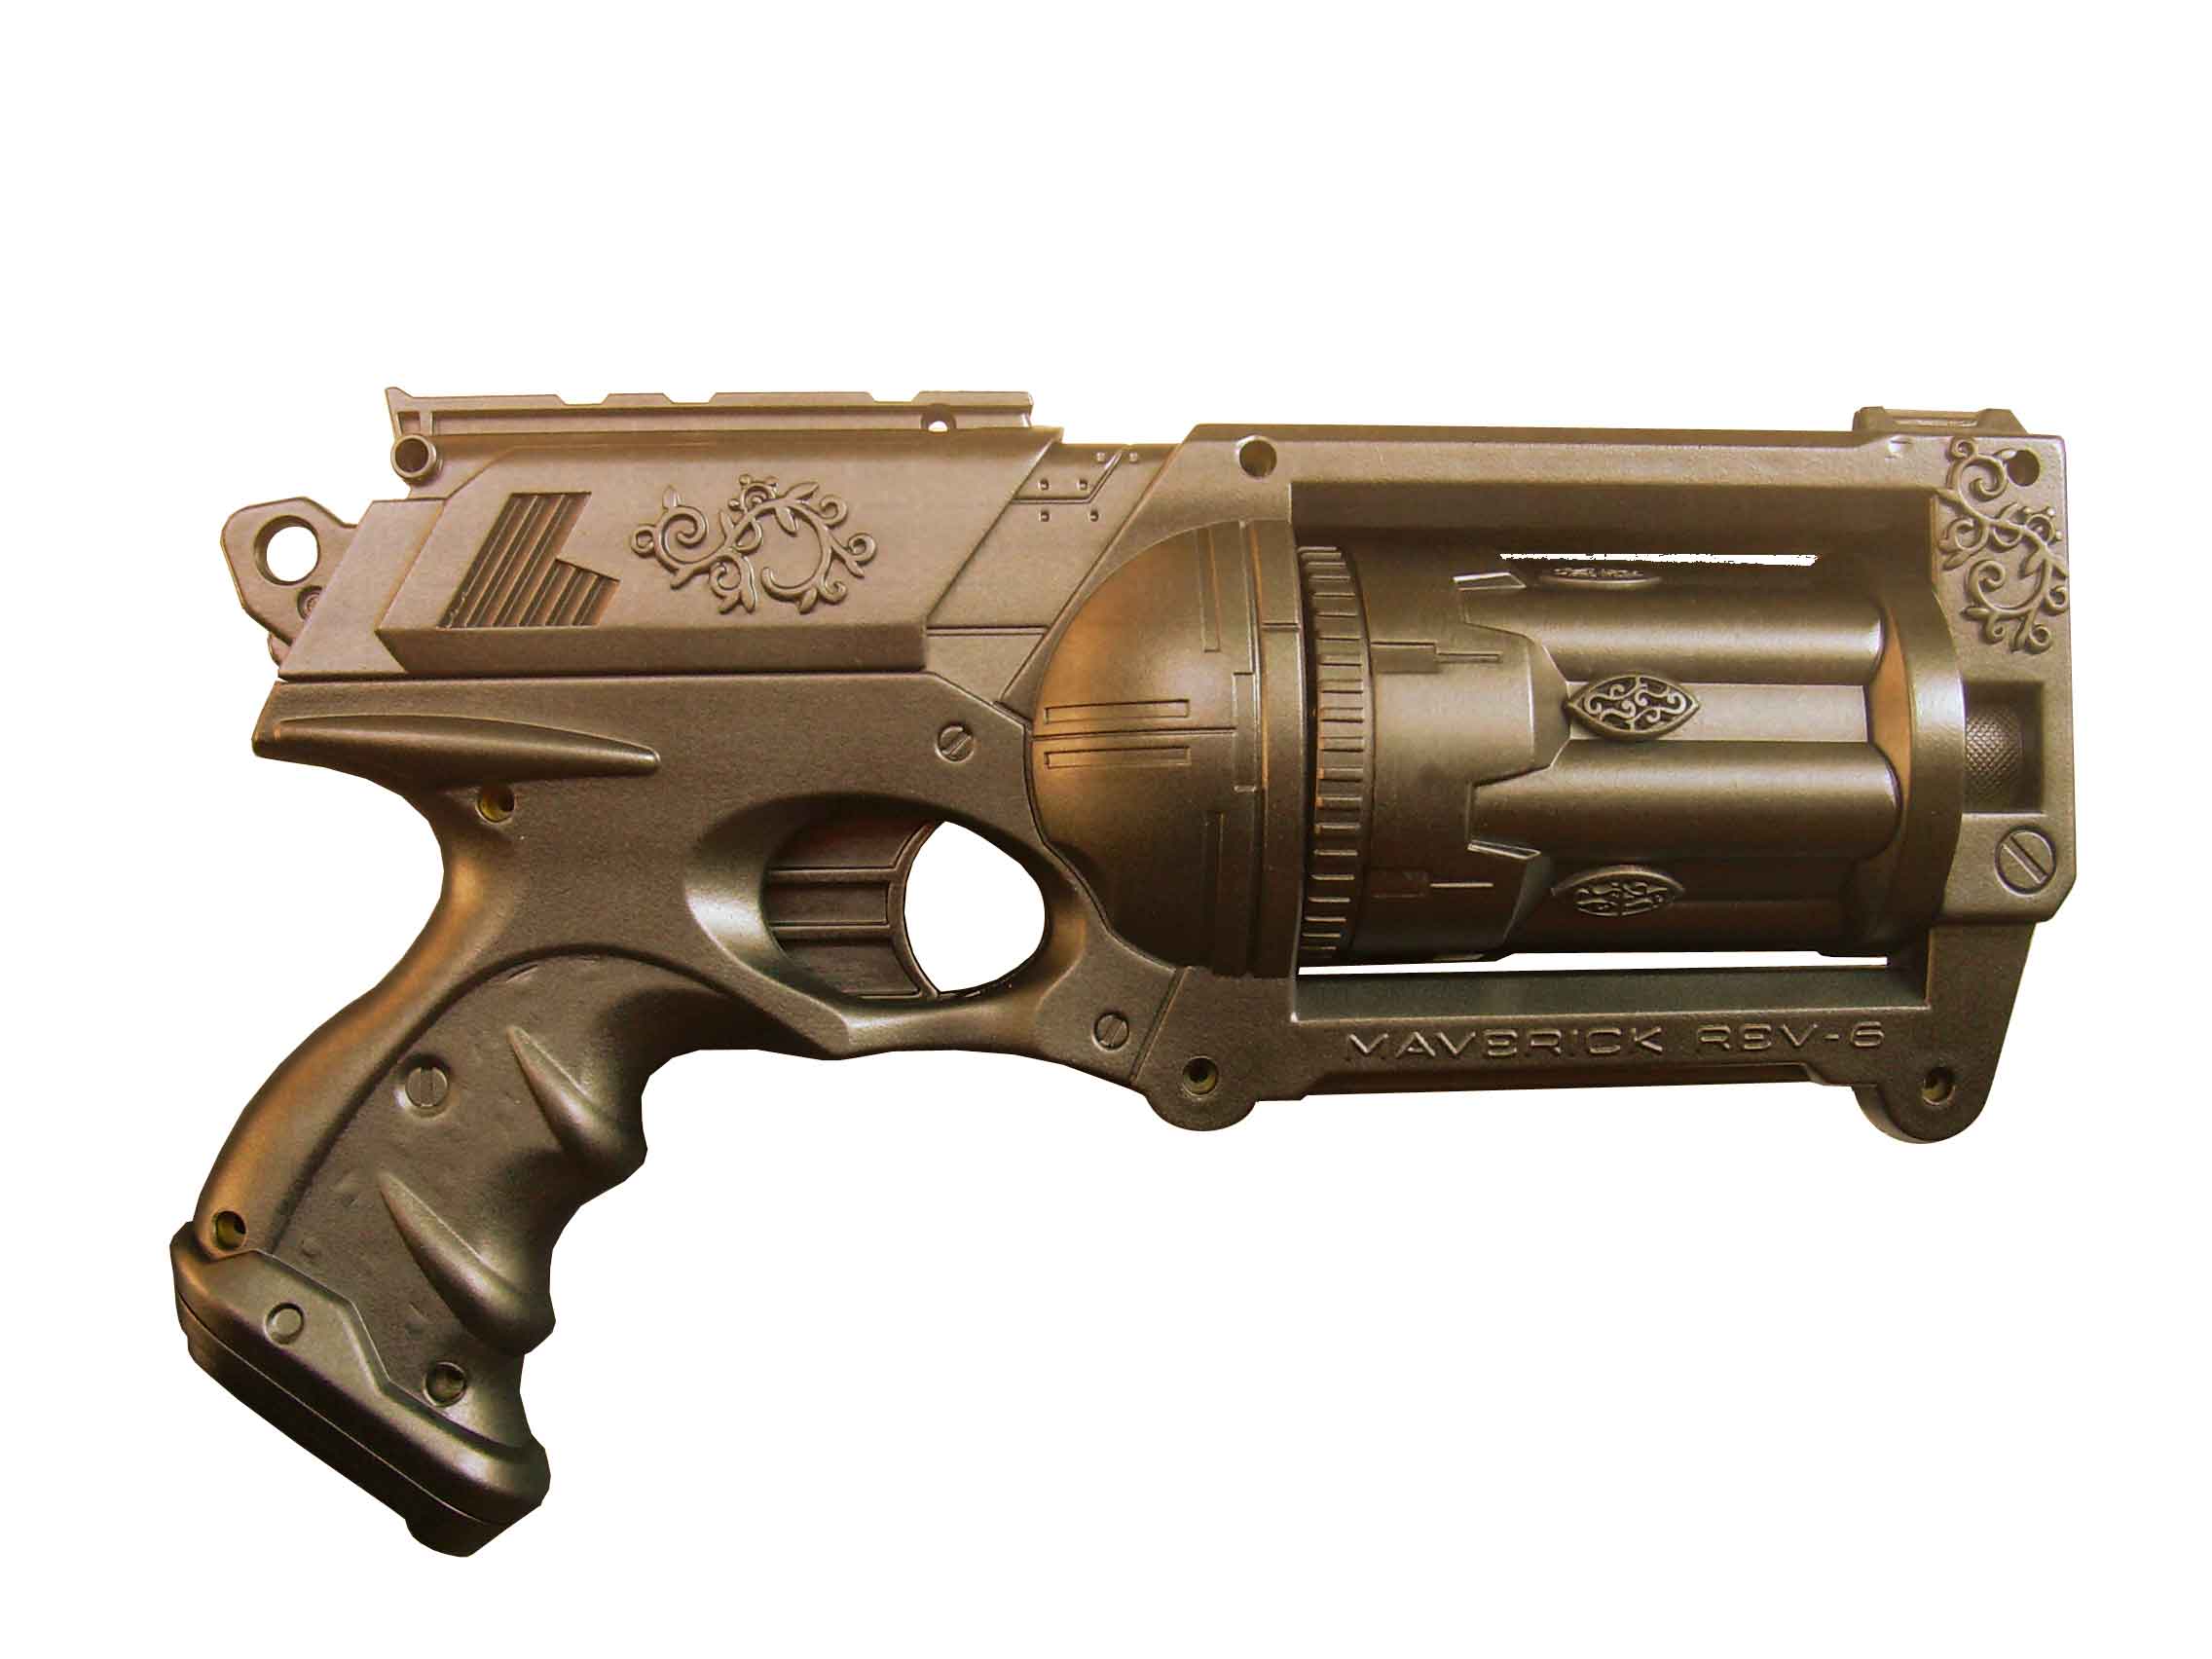
This is what it would look like painted solid caramel metallic.
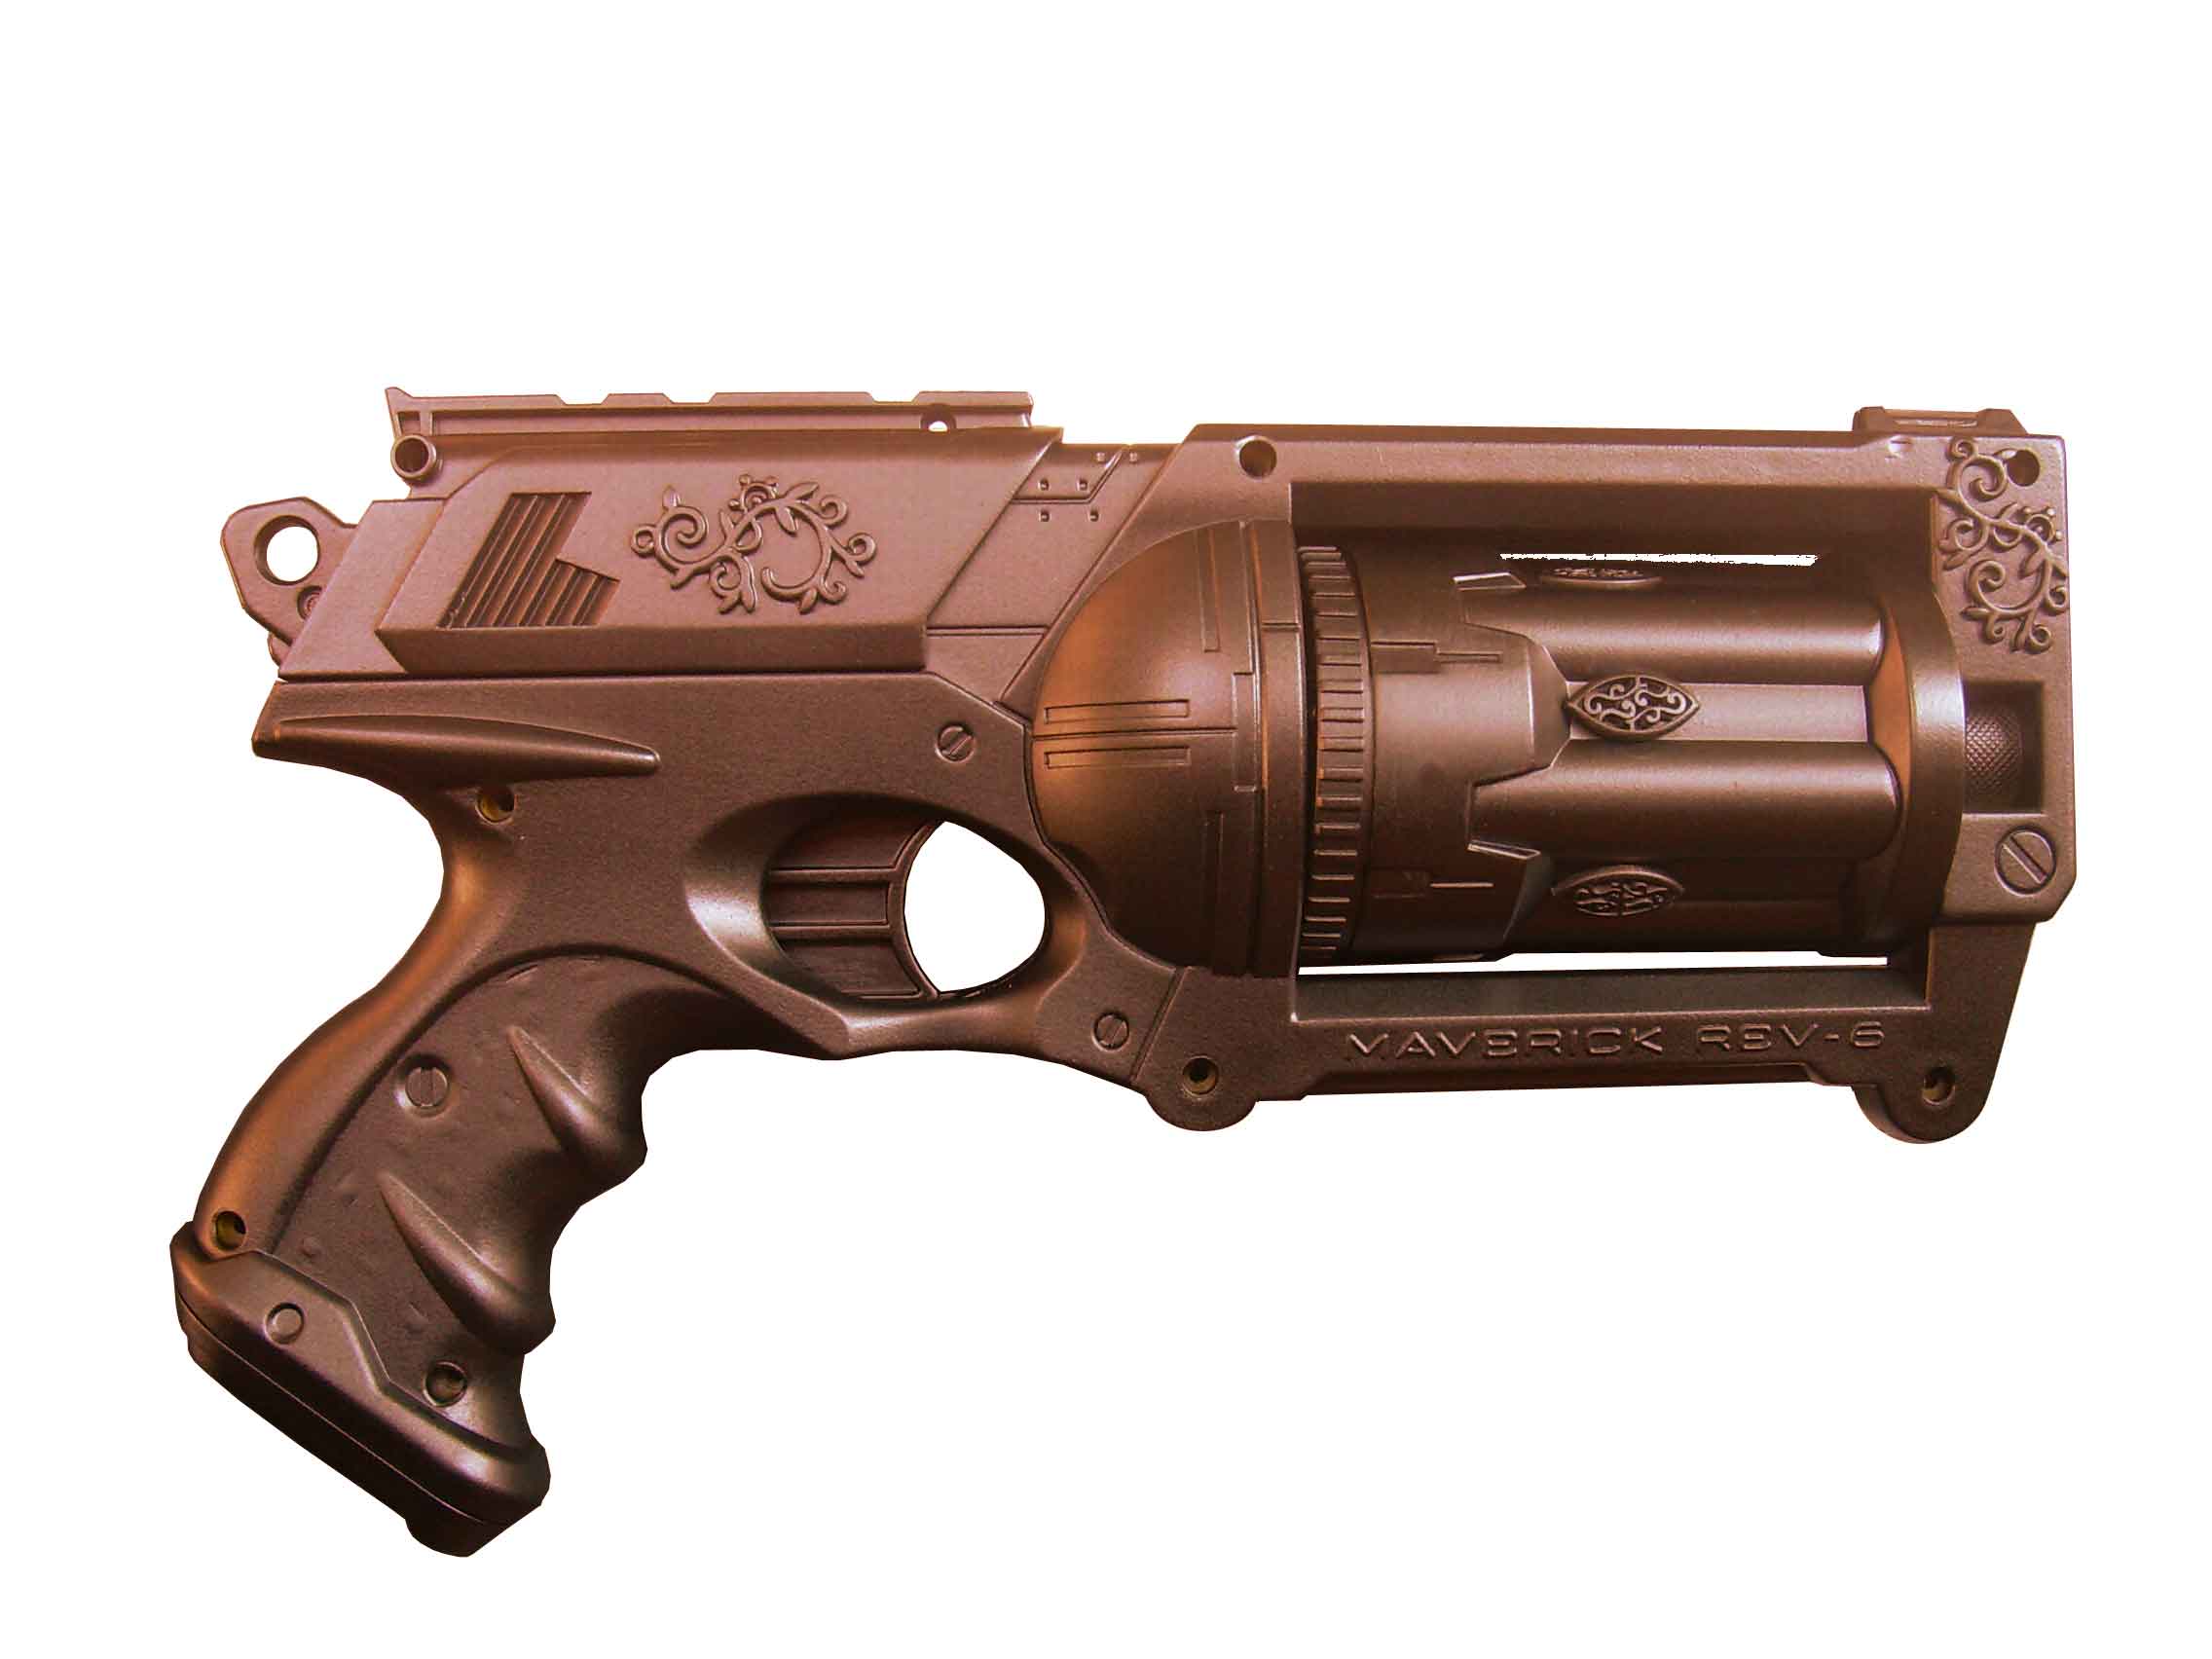
This is what it would look like painted solid copper. A friend of mine says this makes it look like it’s made of chocolate. Chocopunk!
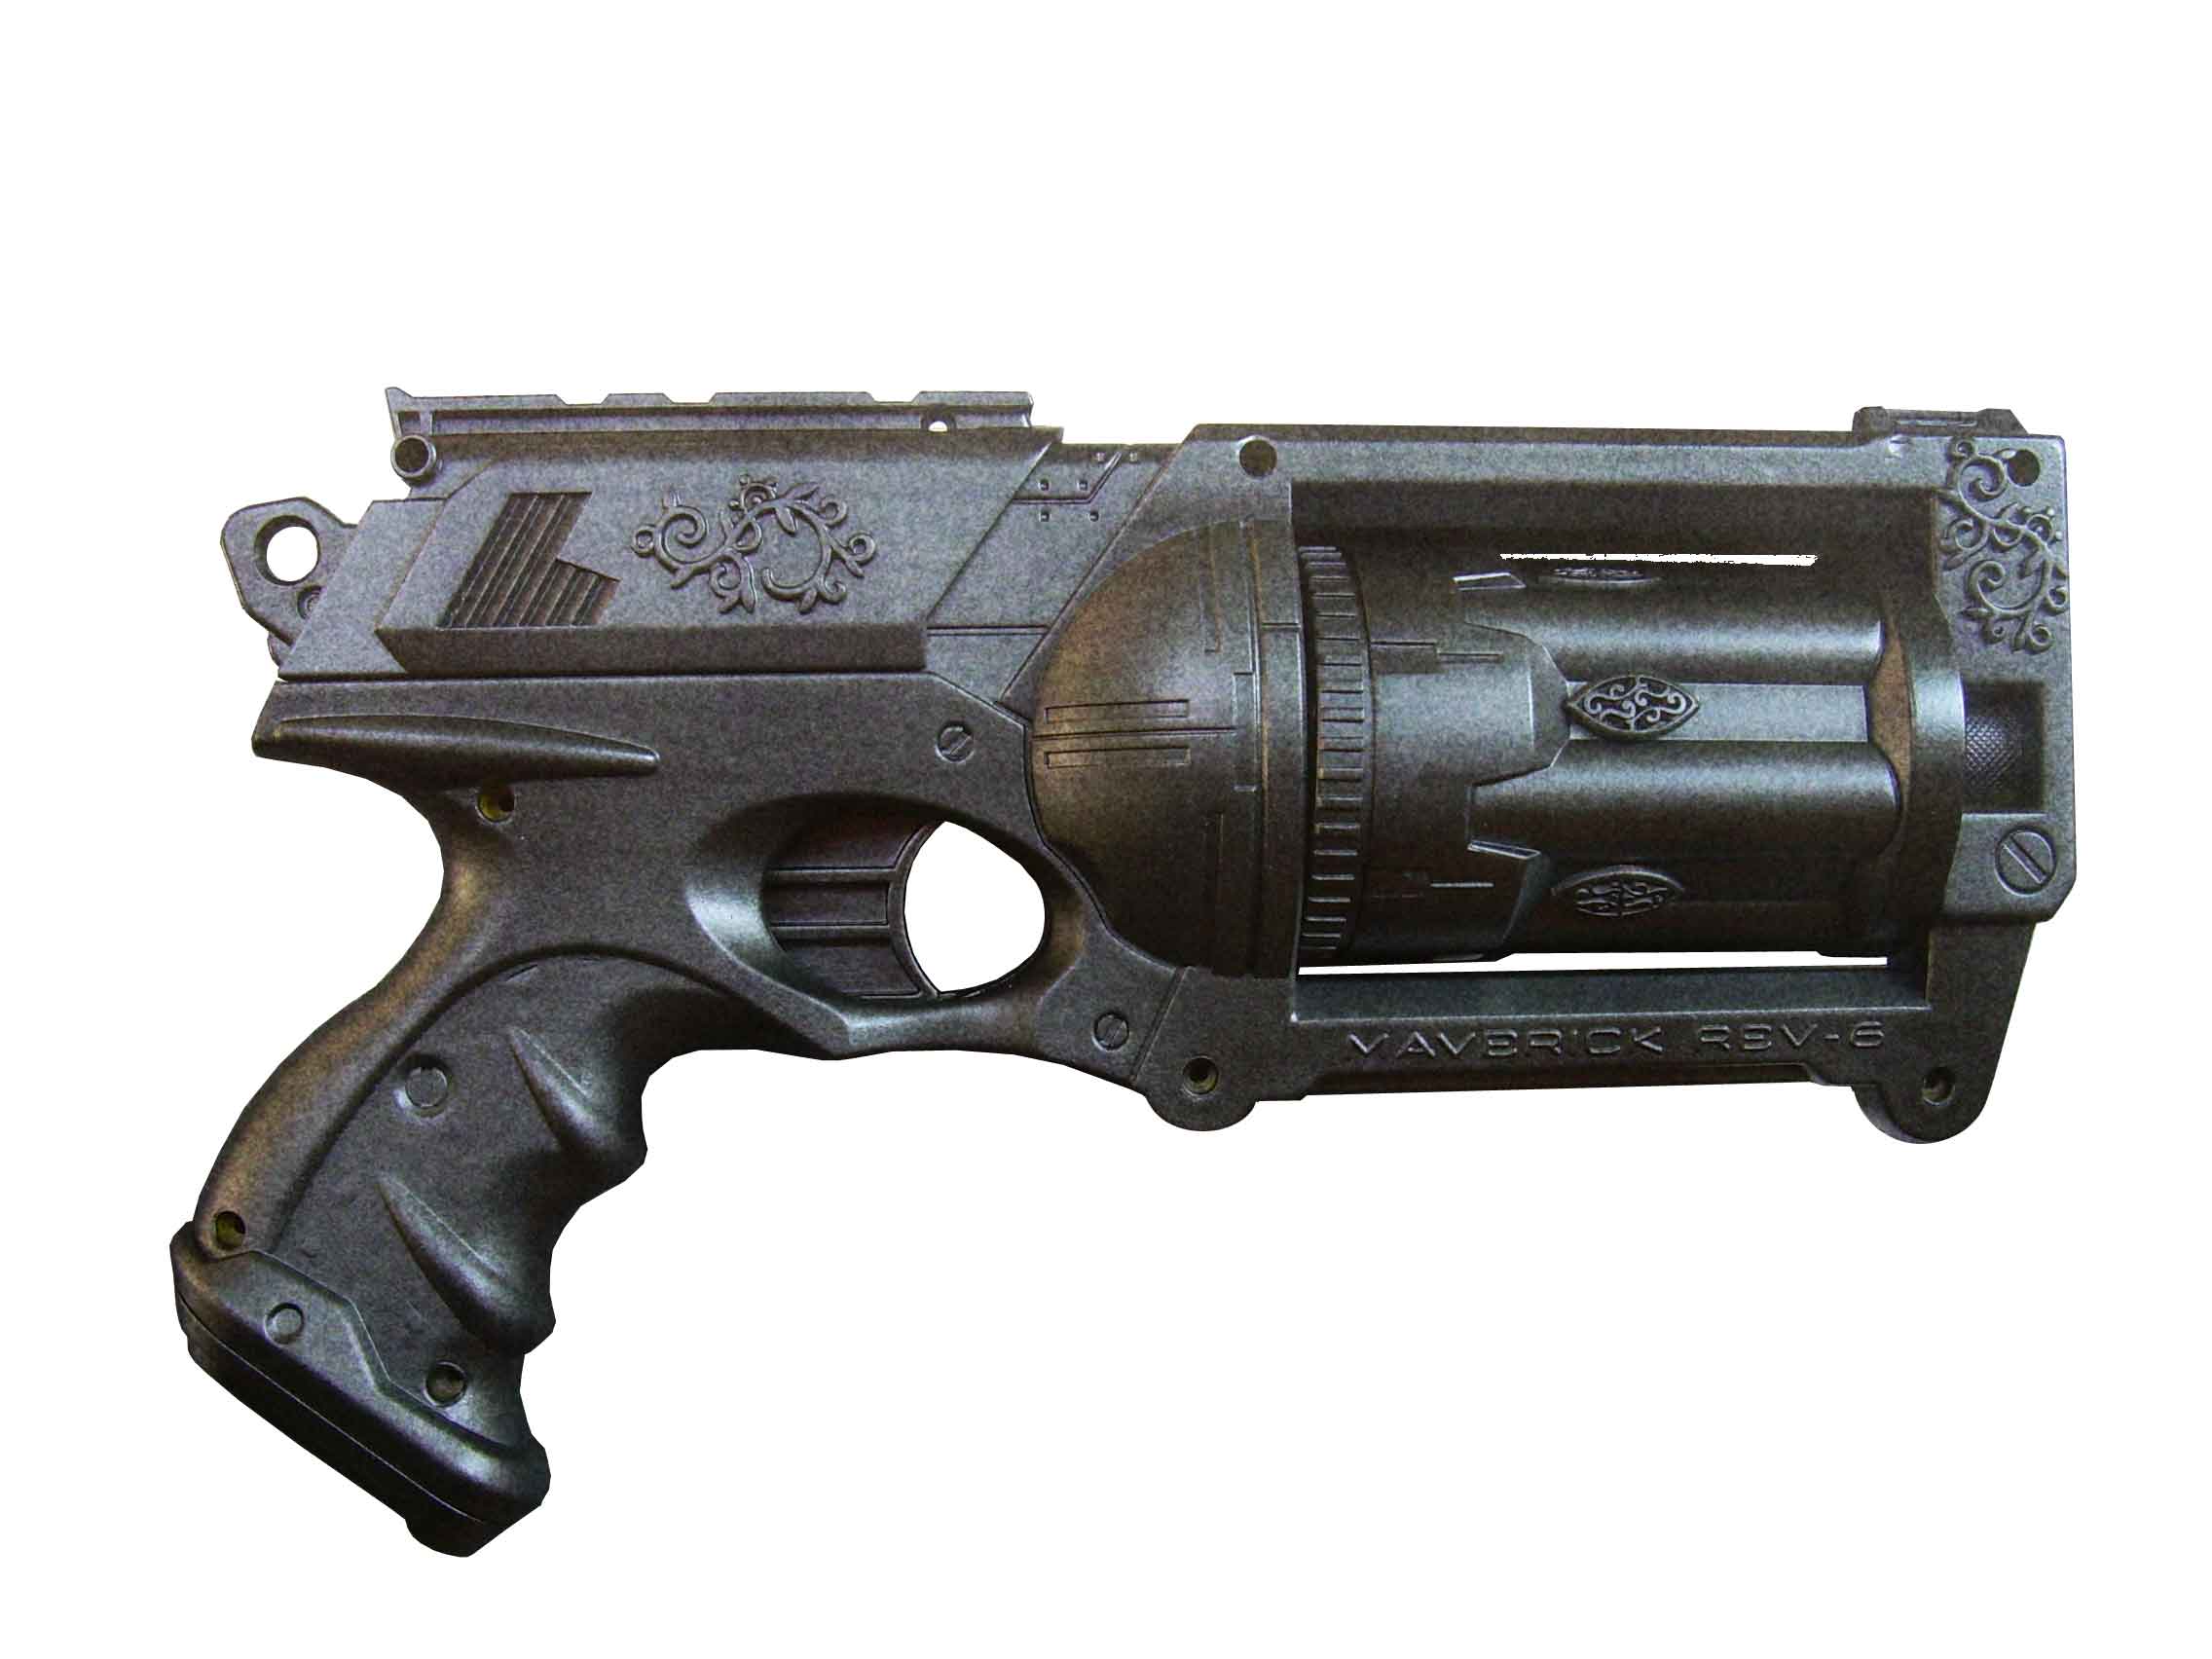
This is what it would look like painted solid steel.
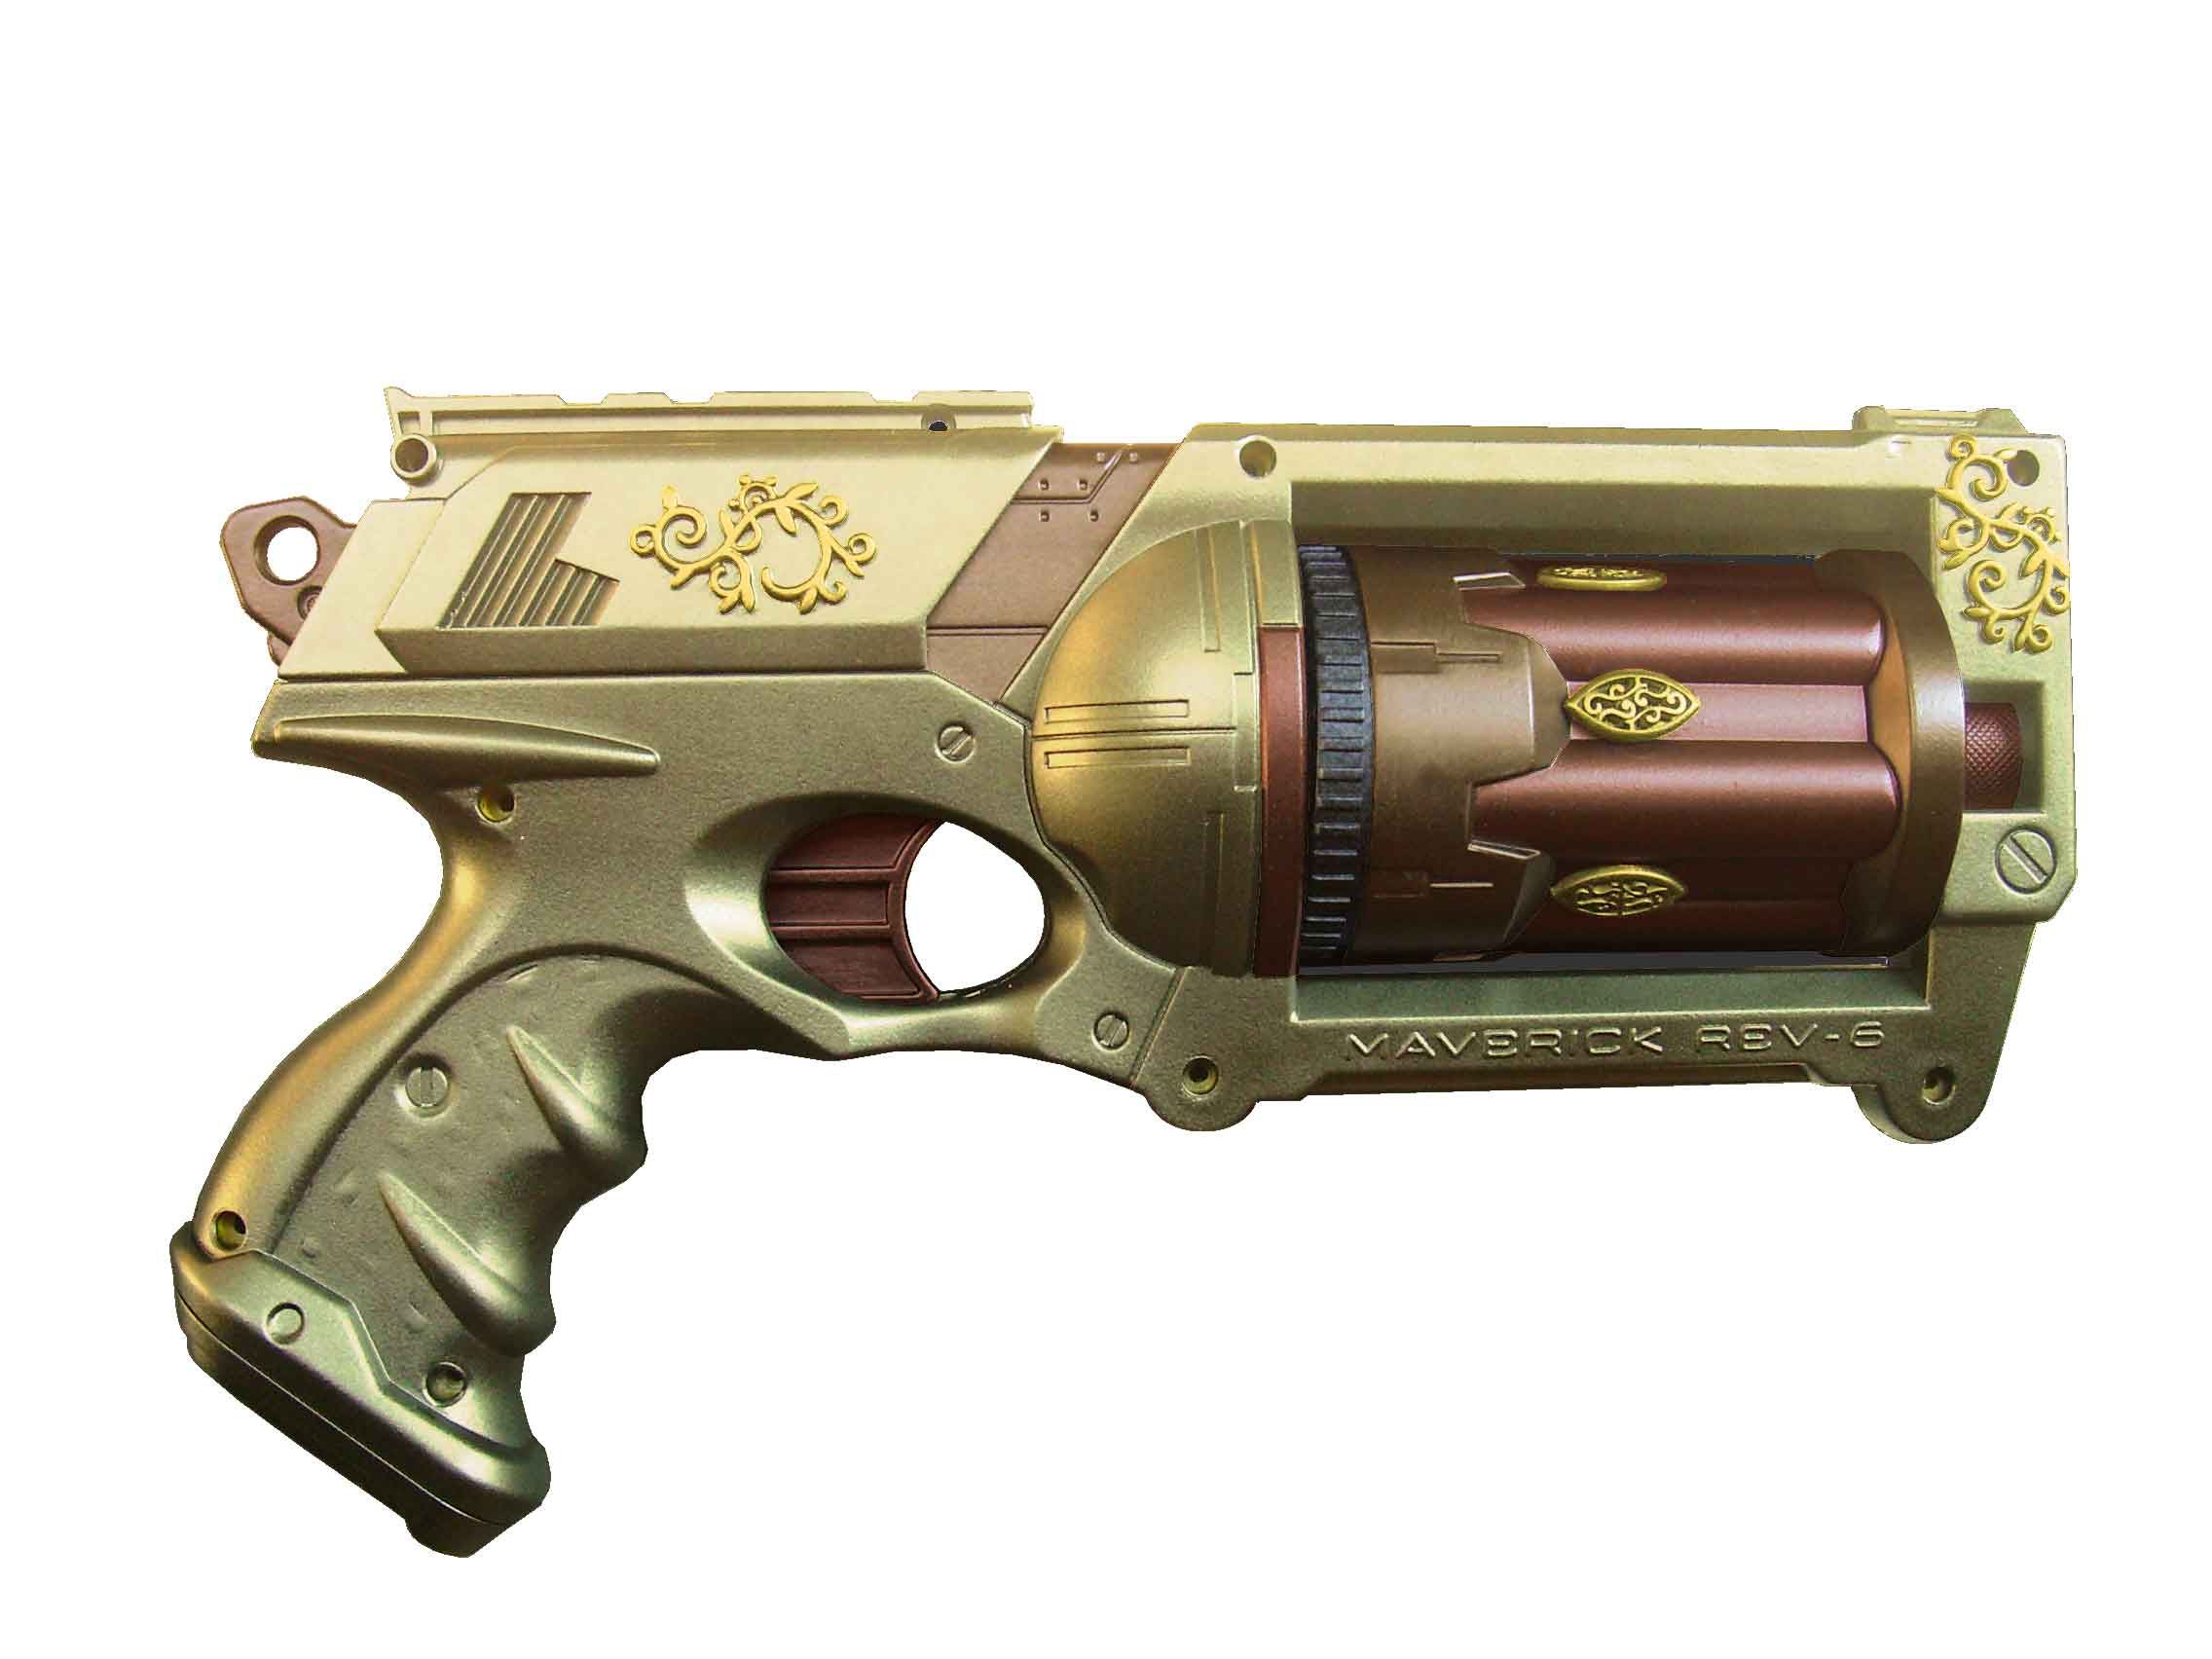
Color scheme 01. I don’t like the gold on the decorations. I thought that I would.
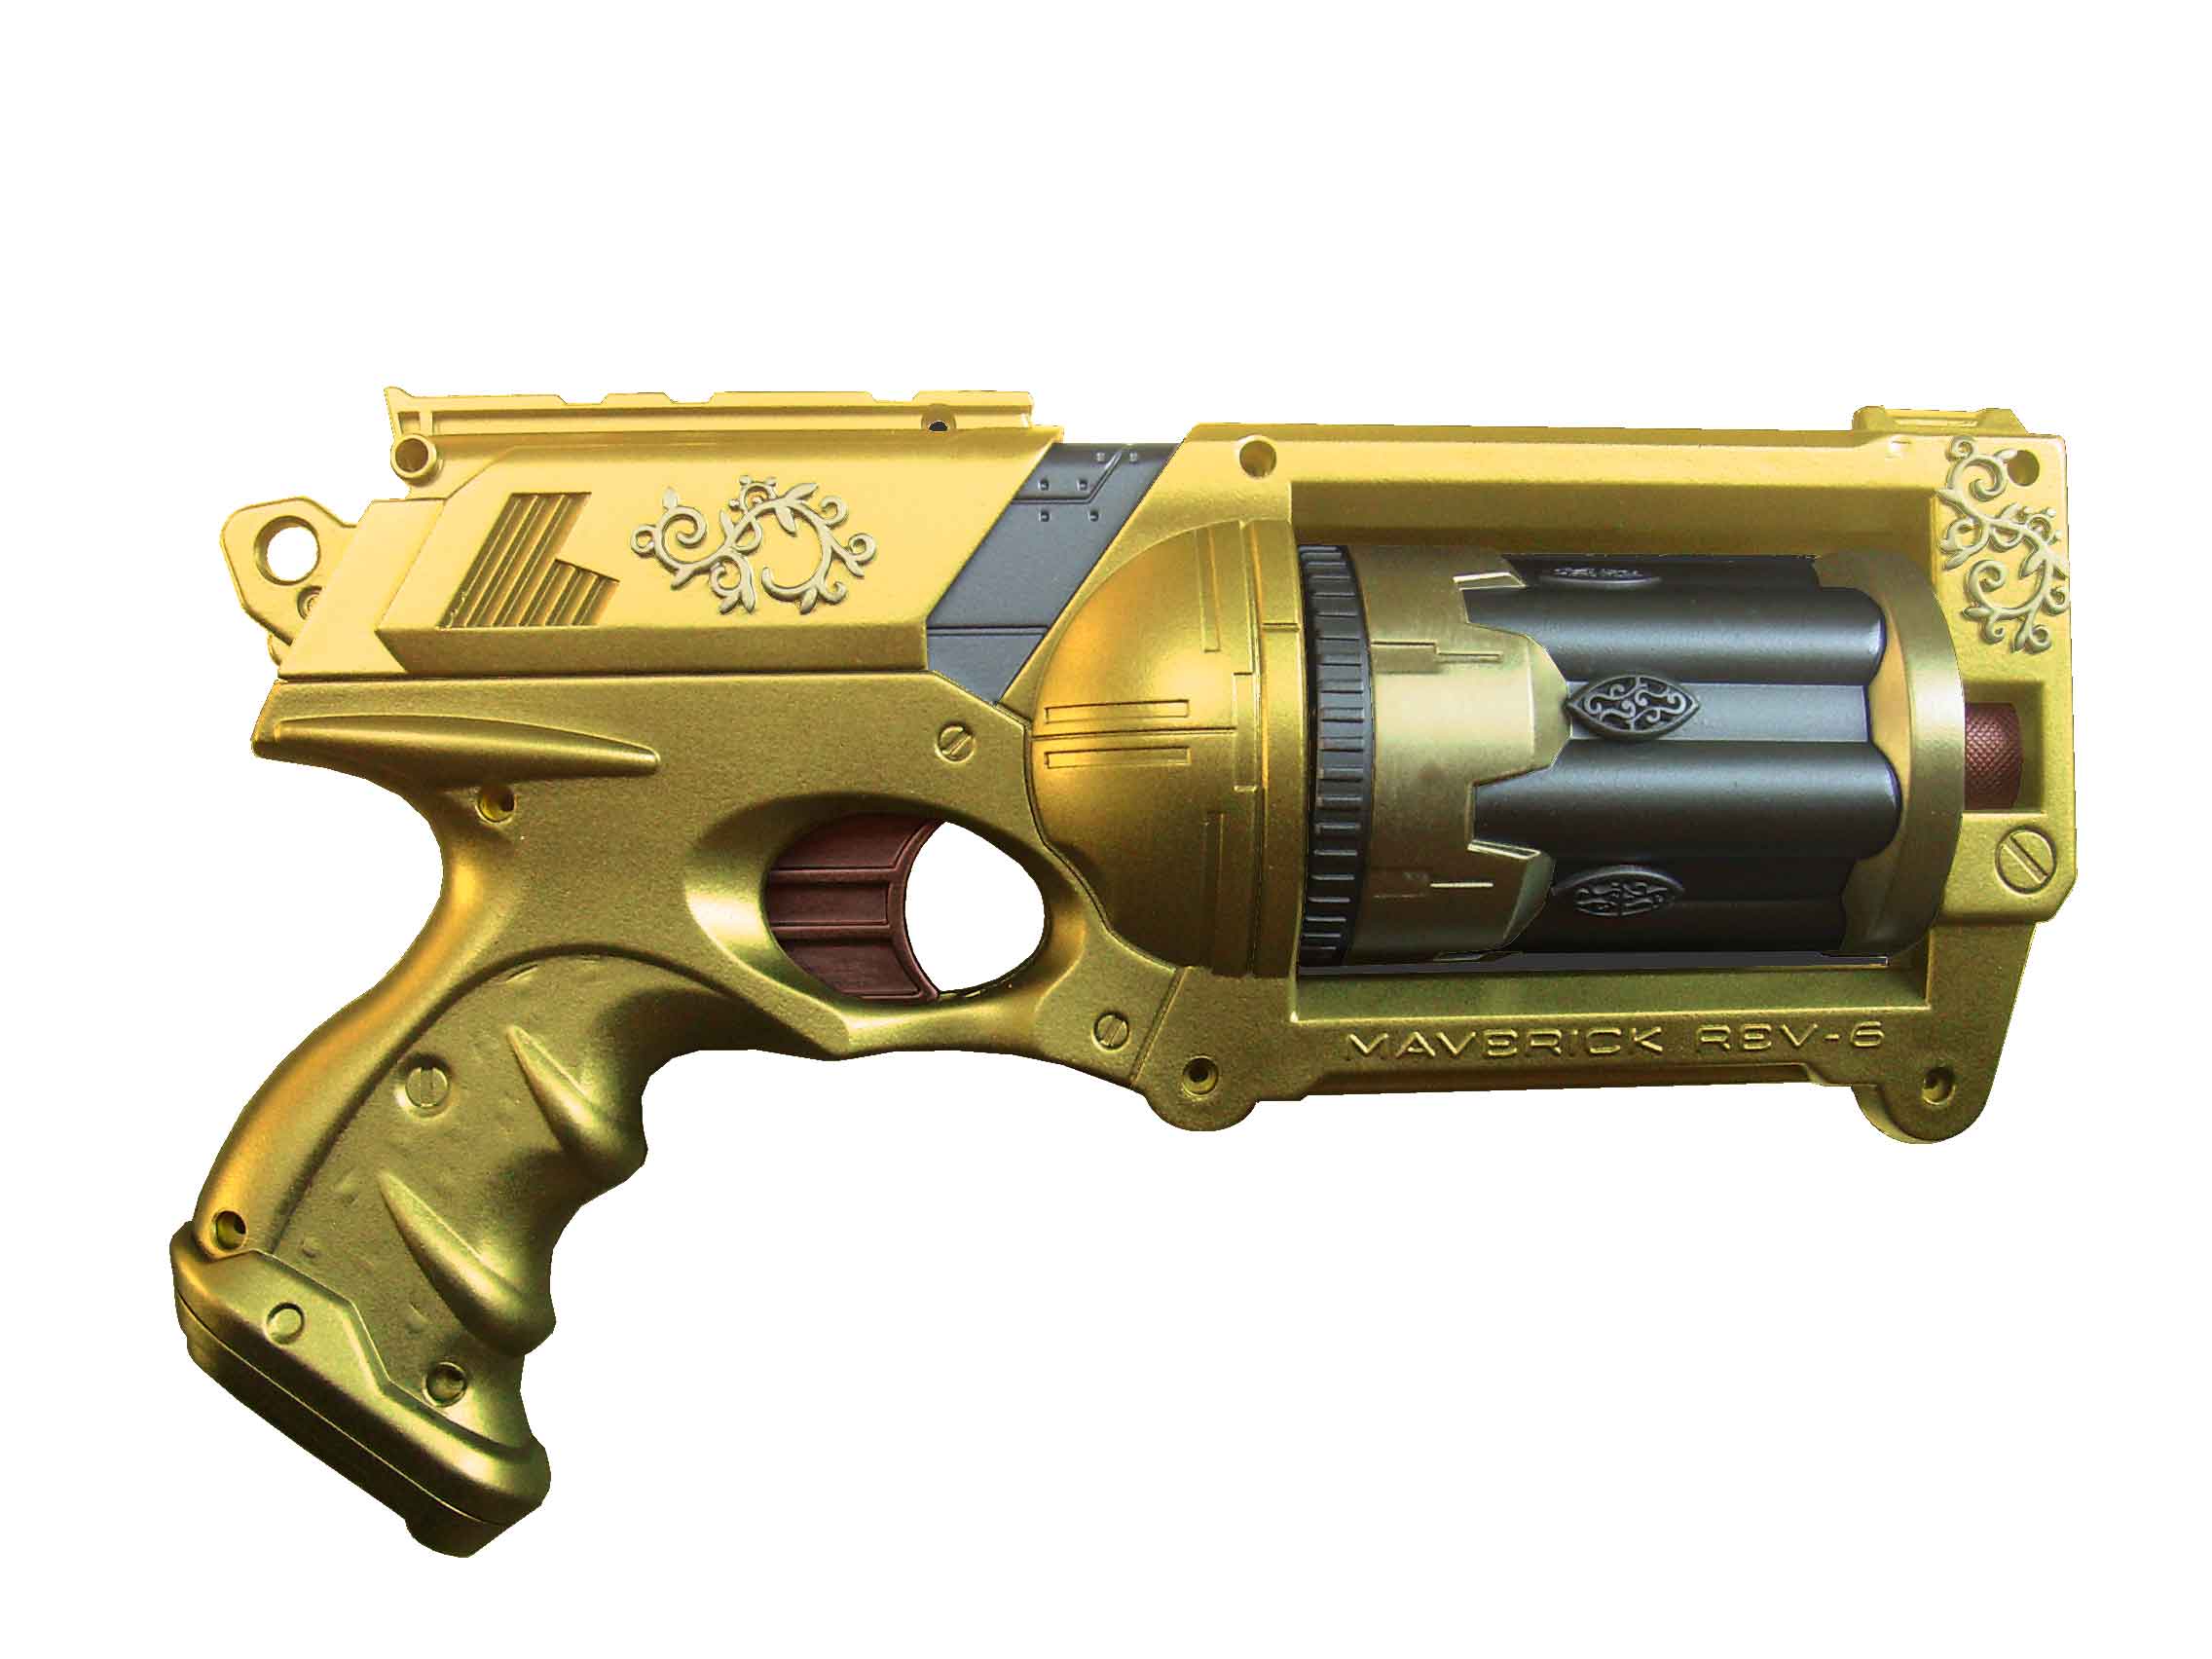
Color scheme 02. Base color is gold. I think it looks garish.
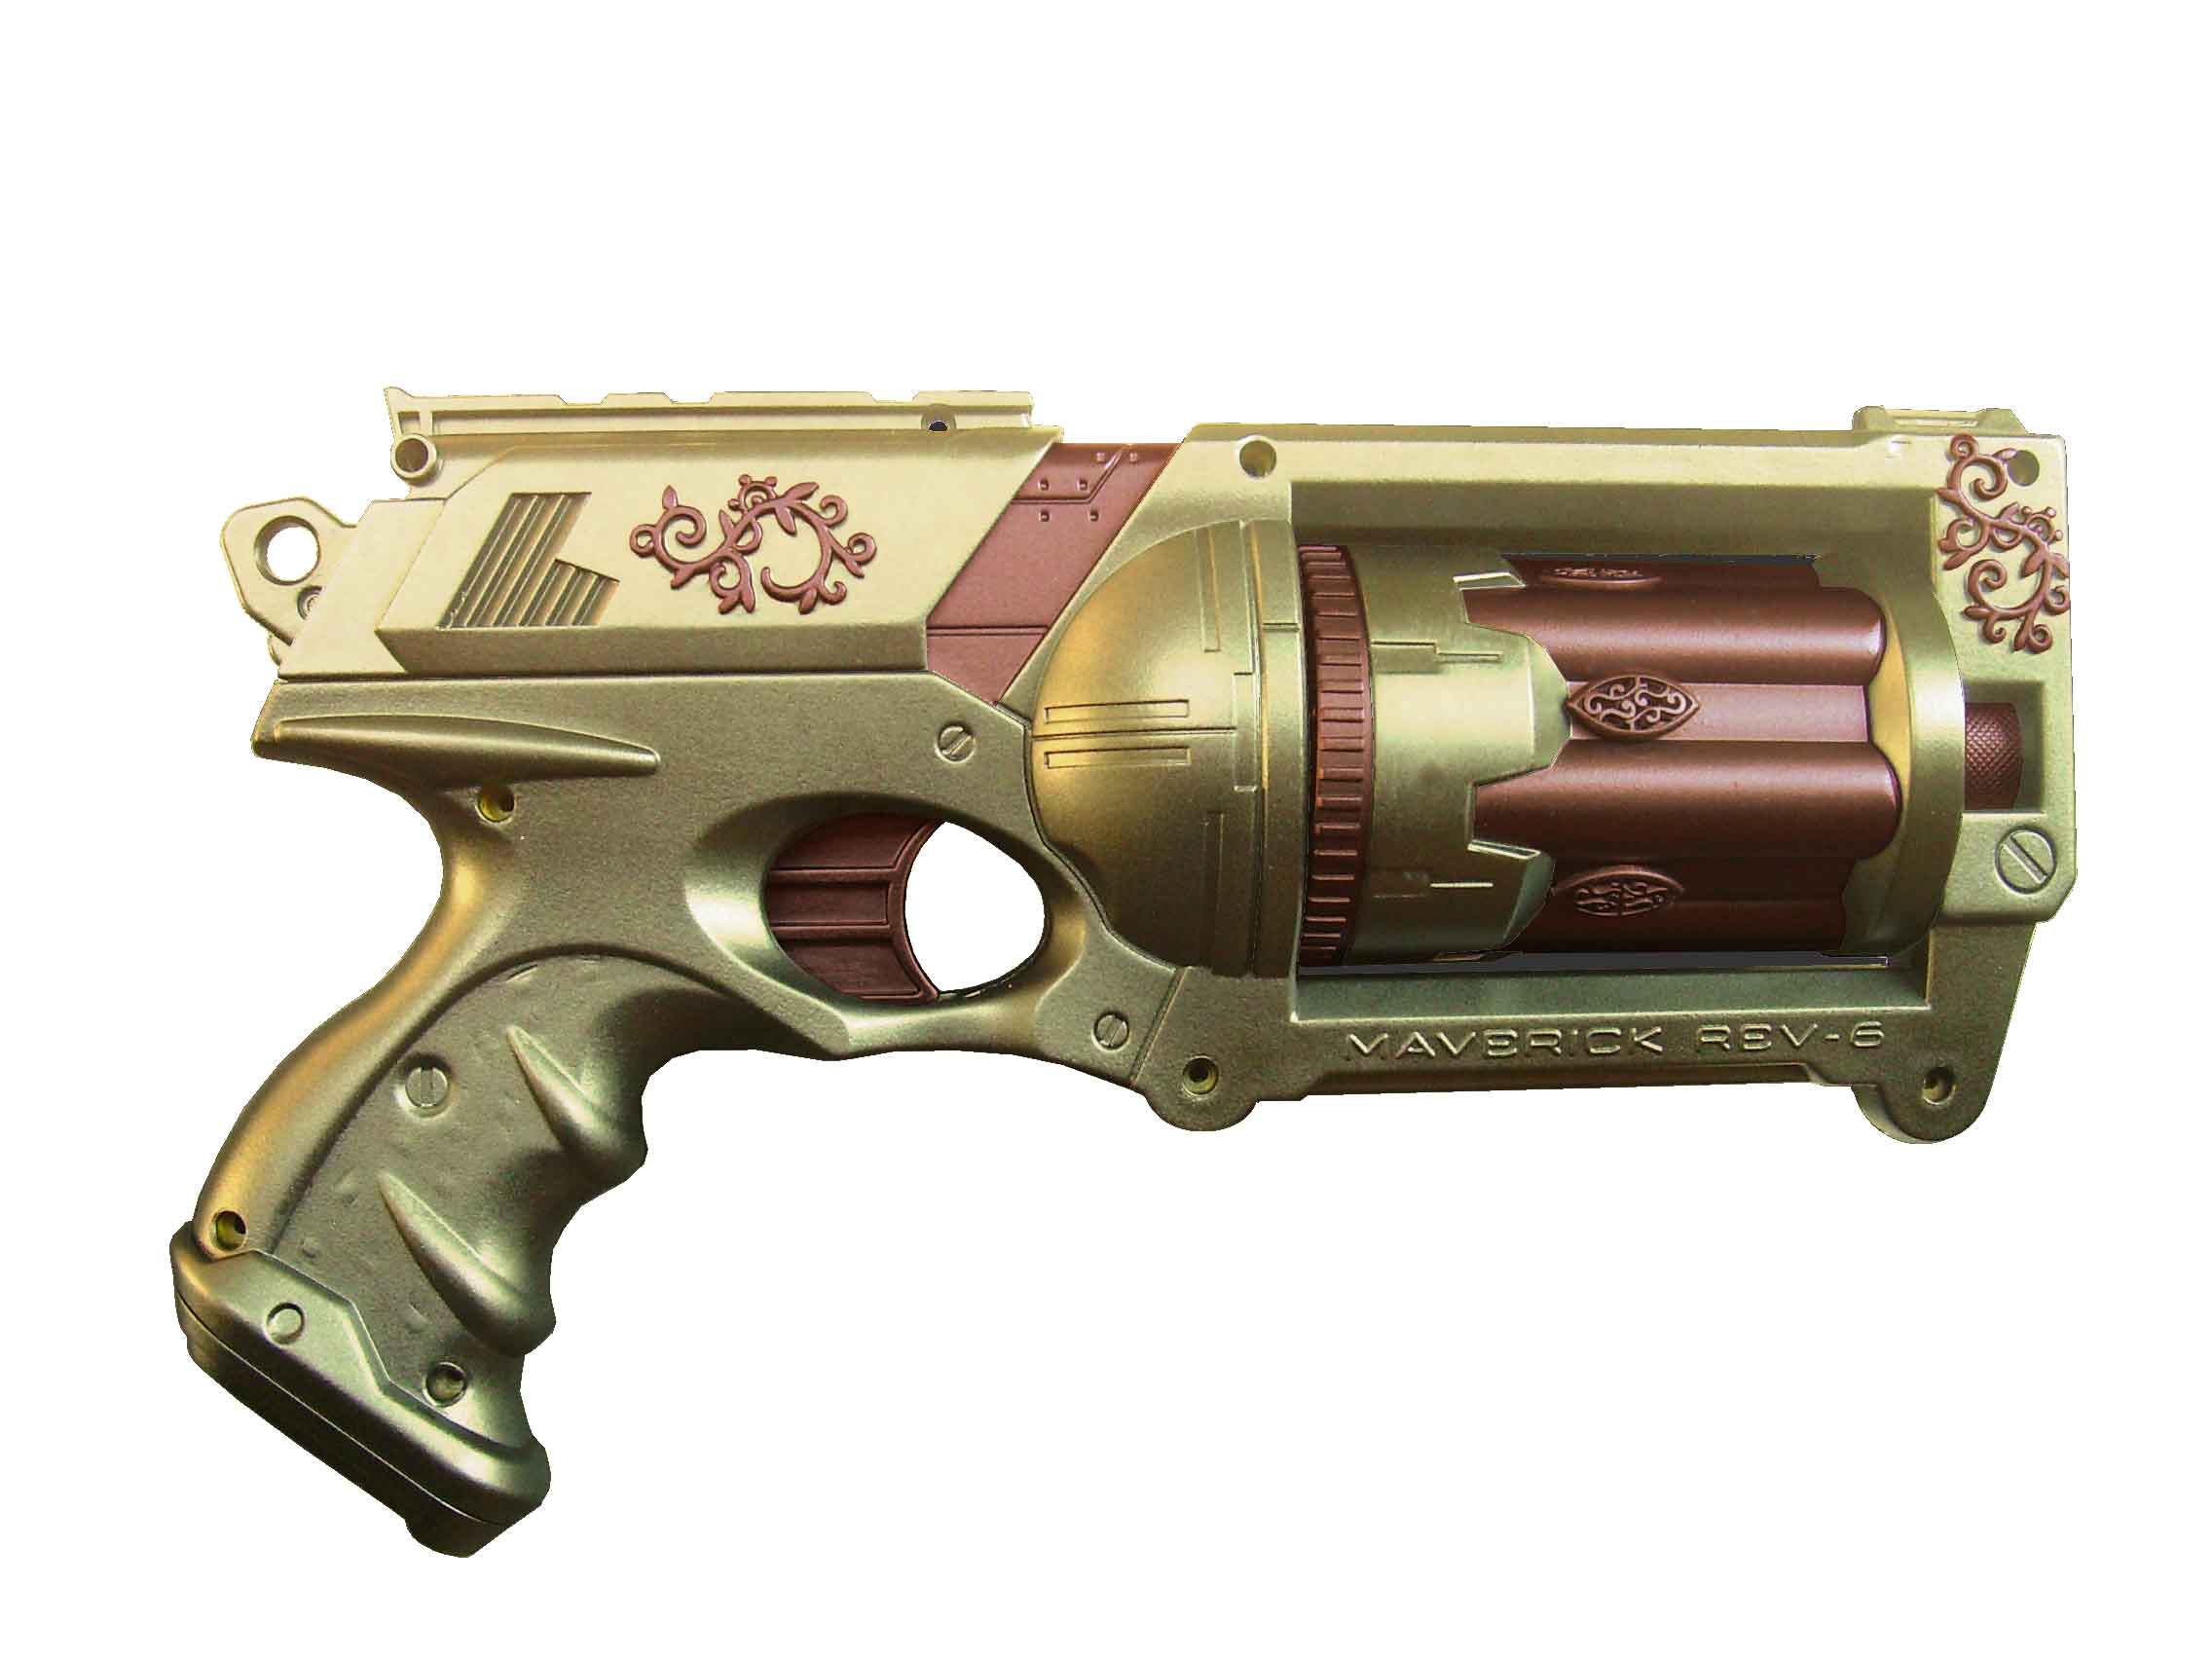
Color scheme 03. Brass with a lot of copper highlights. I like this one.
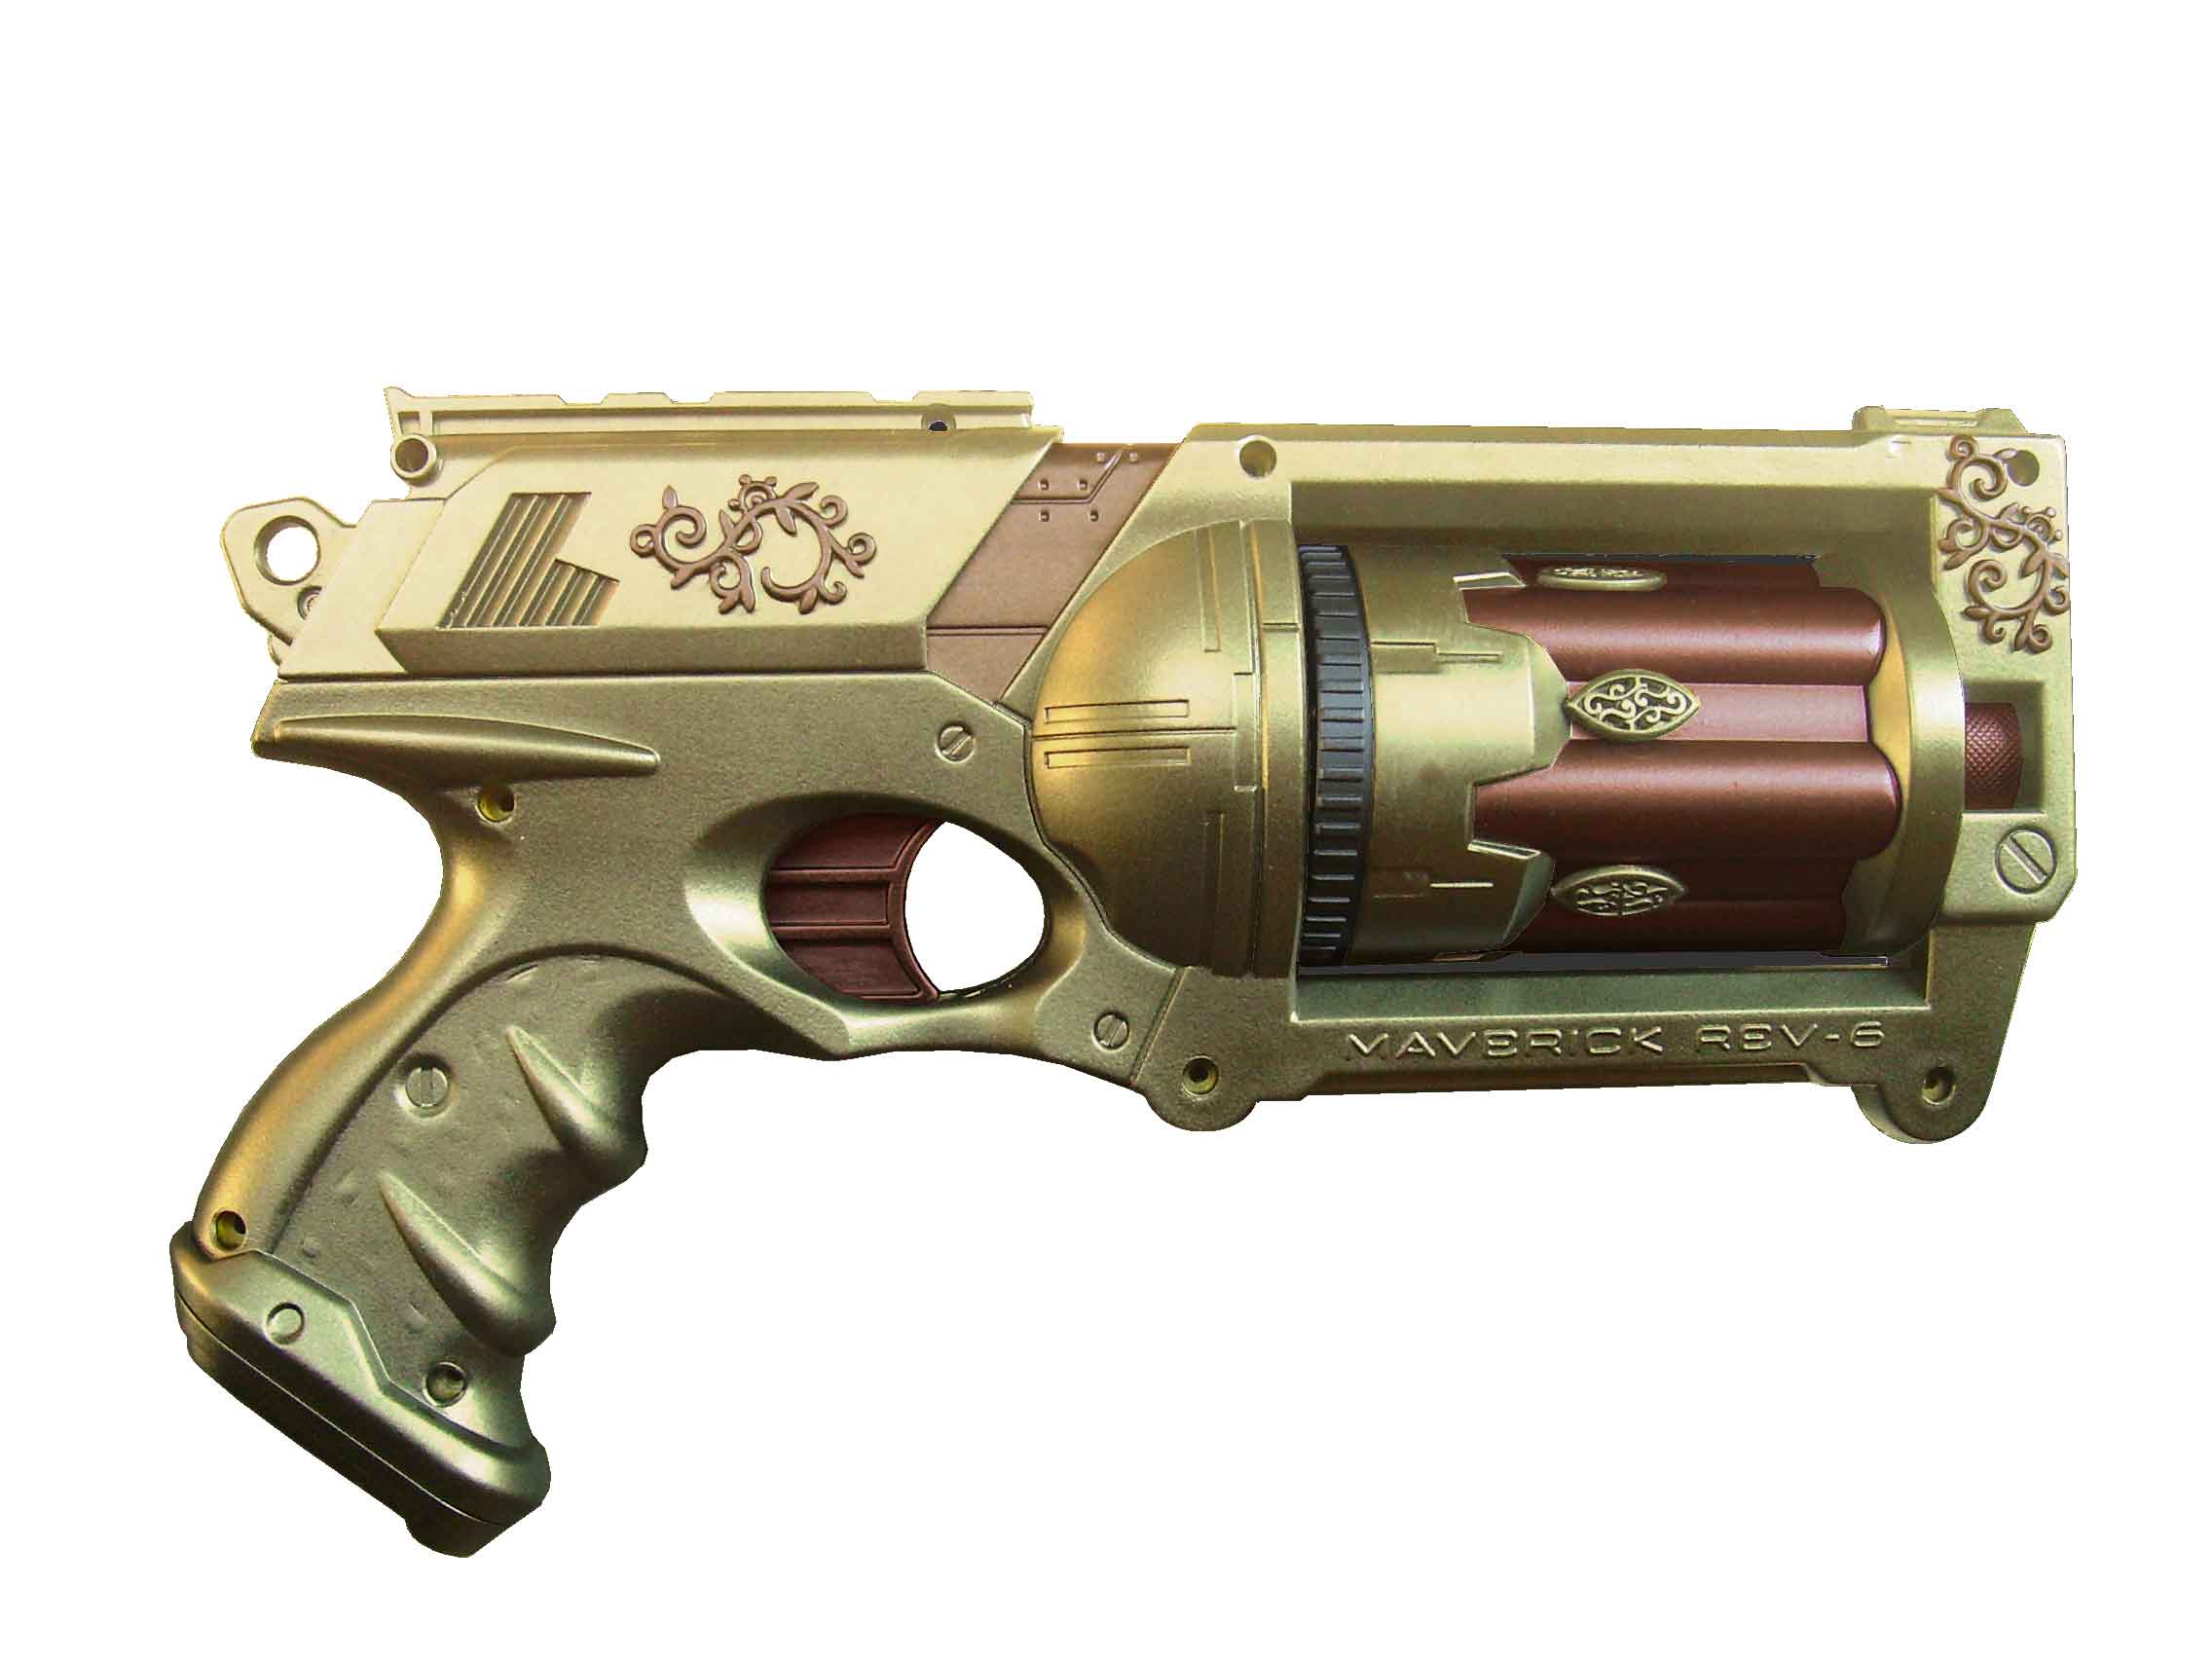
Color scheme 04. Brass with a bit less copper. I like this one better.
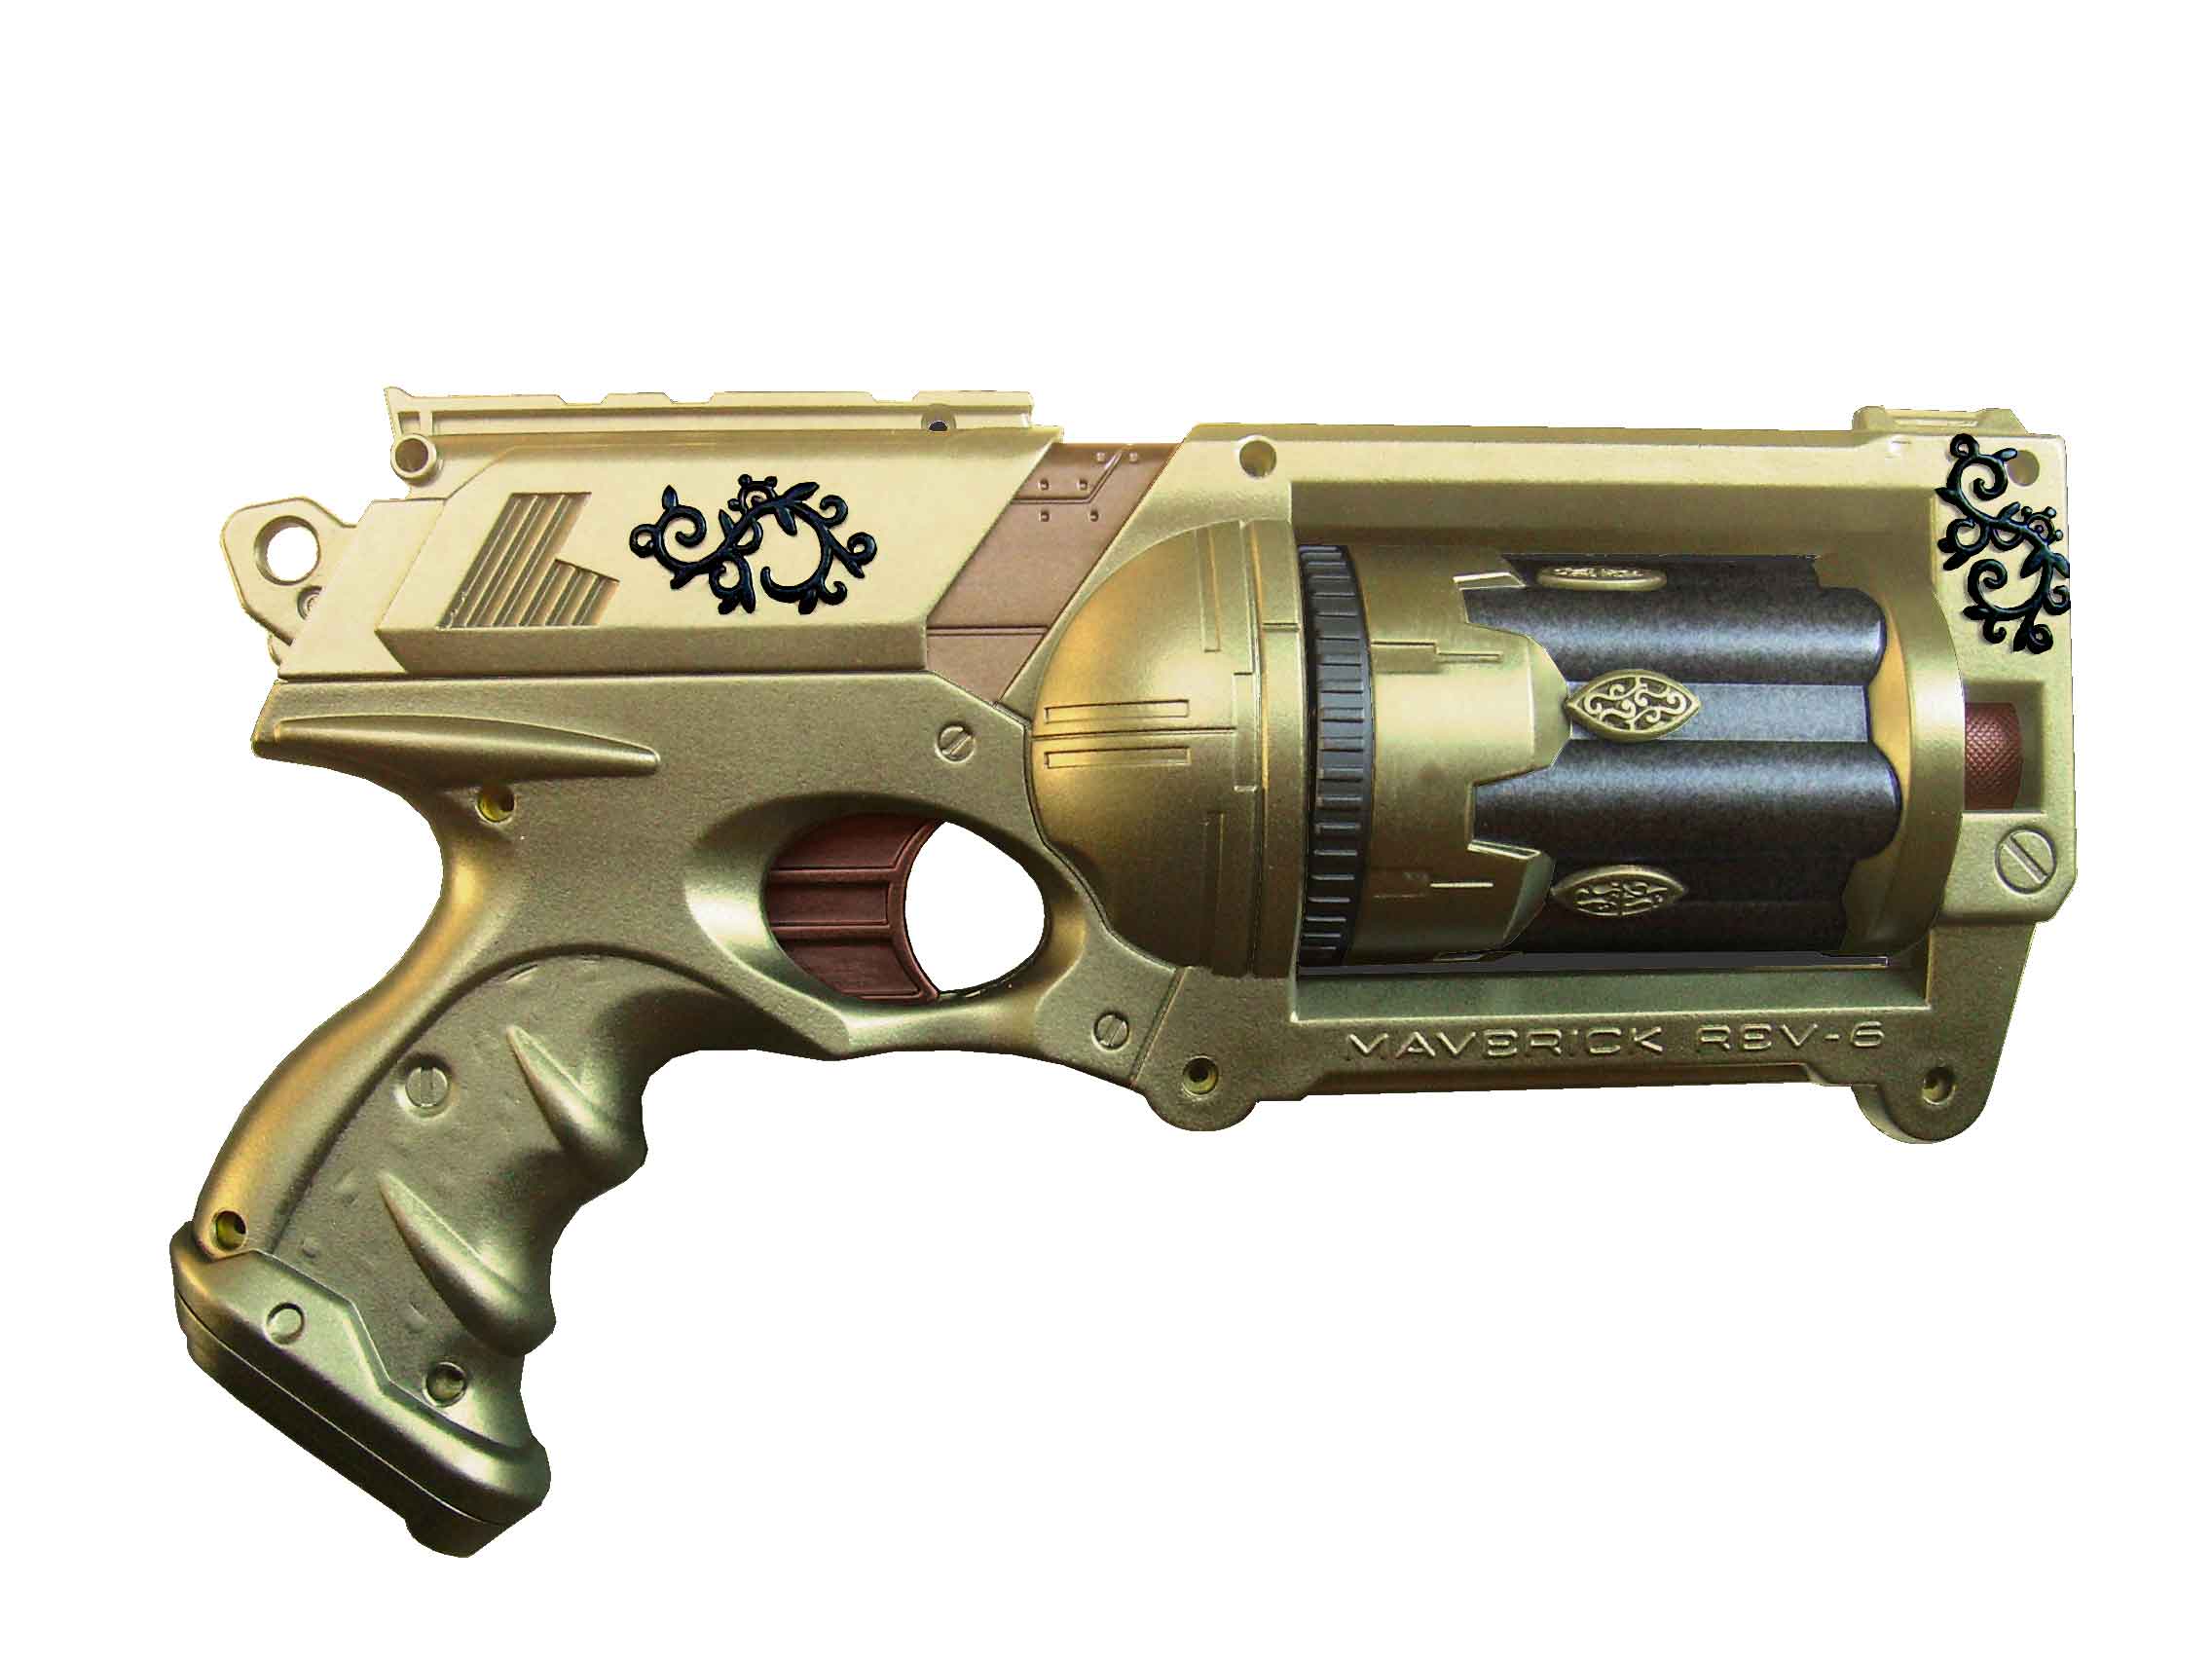
Color scheme 05. Black highlights on the slide and frame. Not too bad.
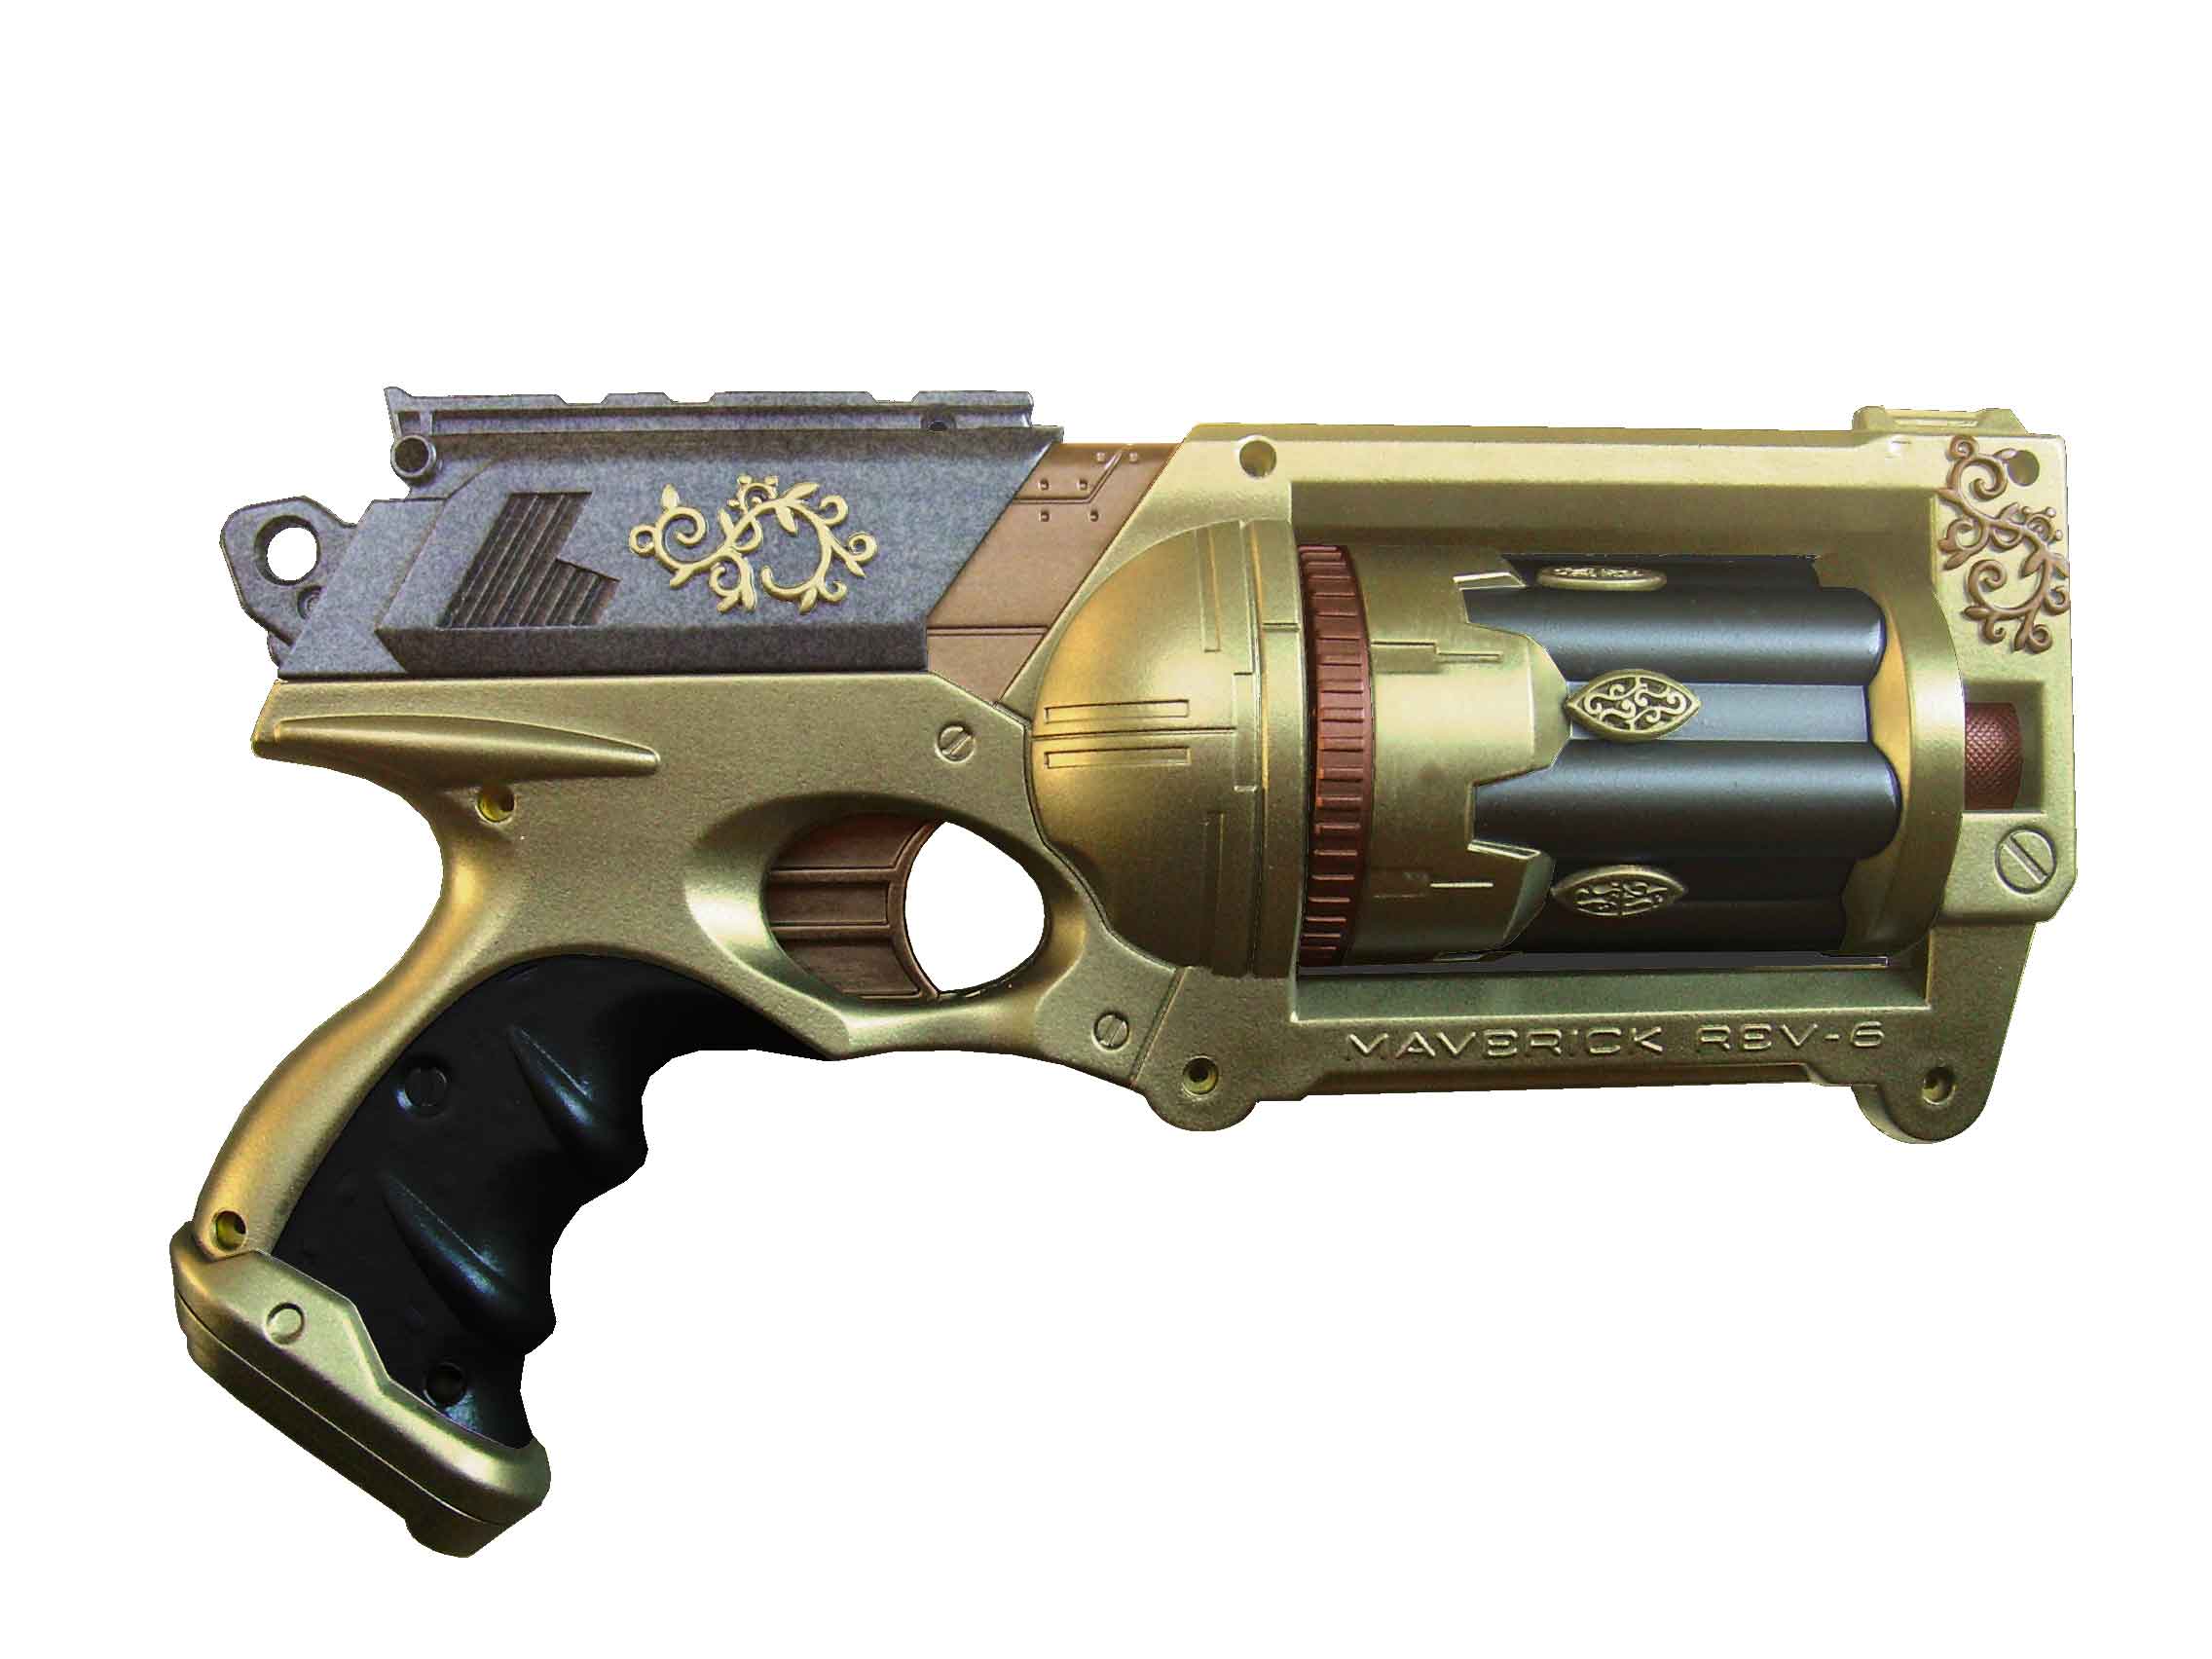
Color scheme 06. There are things I like about this color scheme, but I think it has too many colors. I do like the black on the grip.
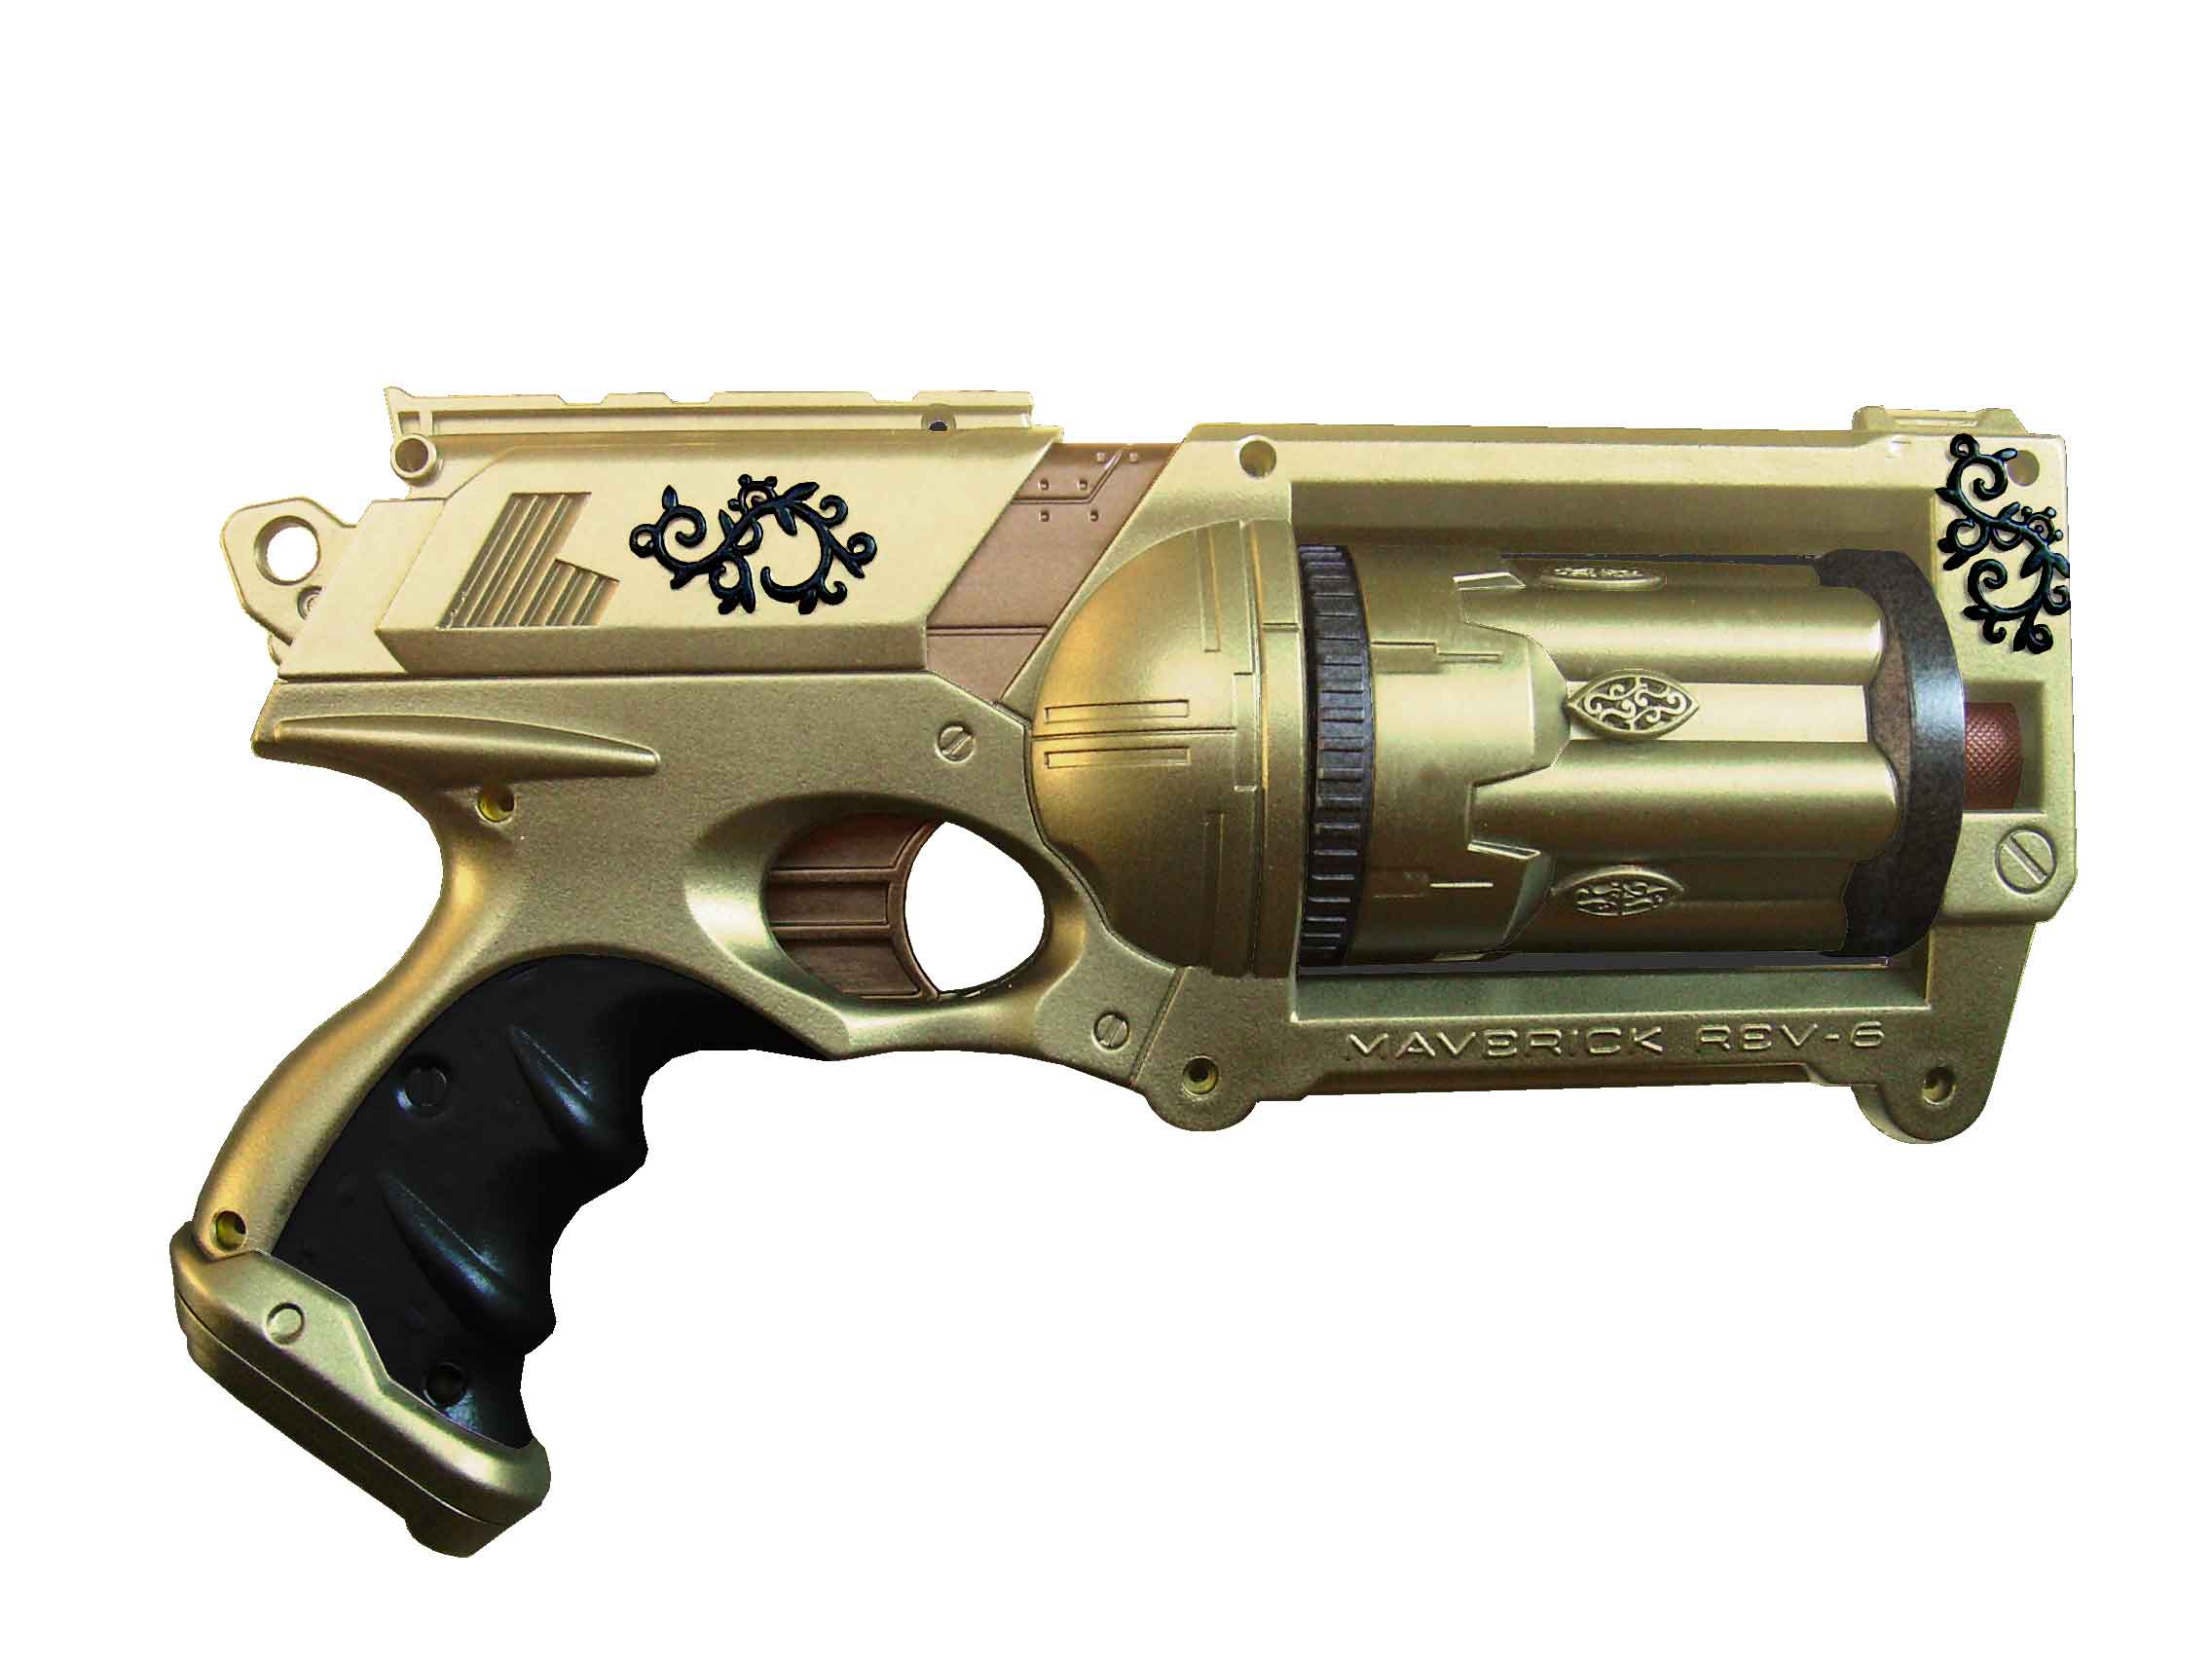
Color scheme 07. I kept the black on the grip, and simplified the color scheme a bit. Still not quite right.
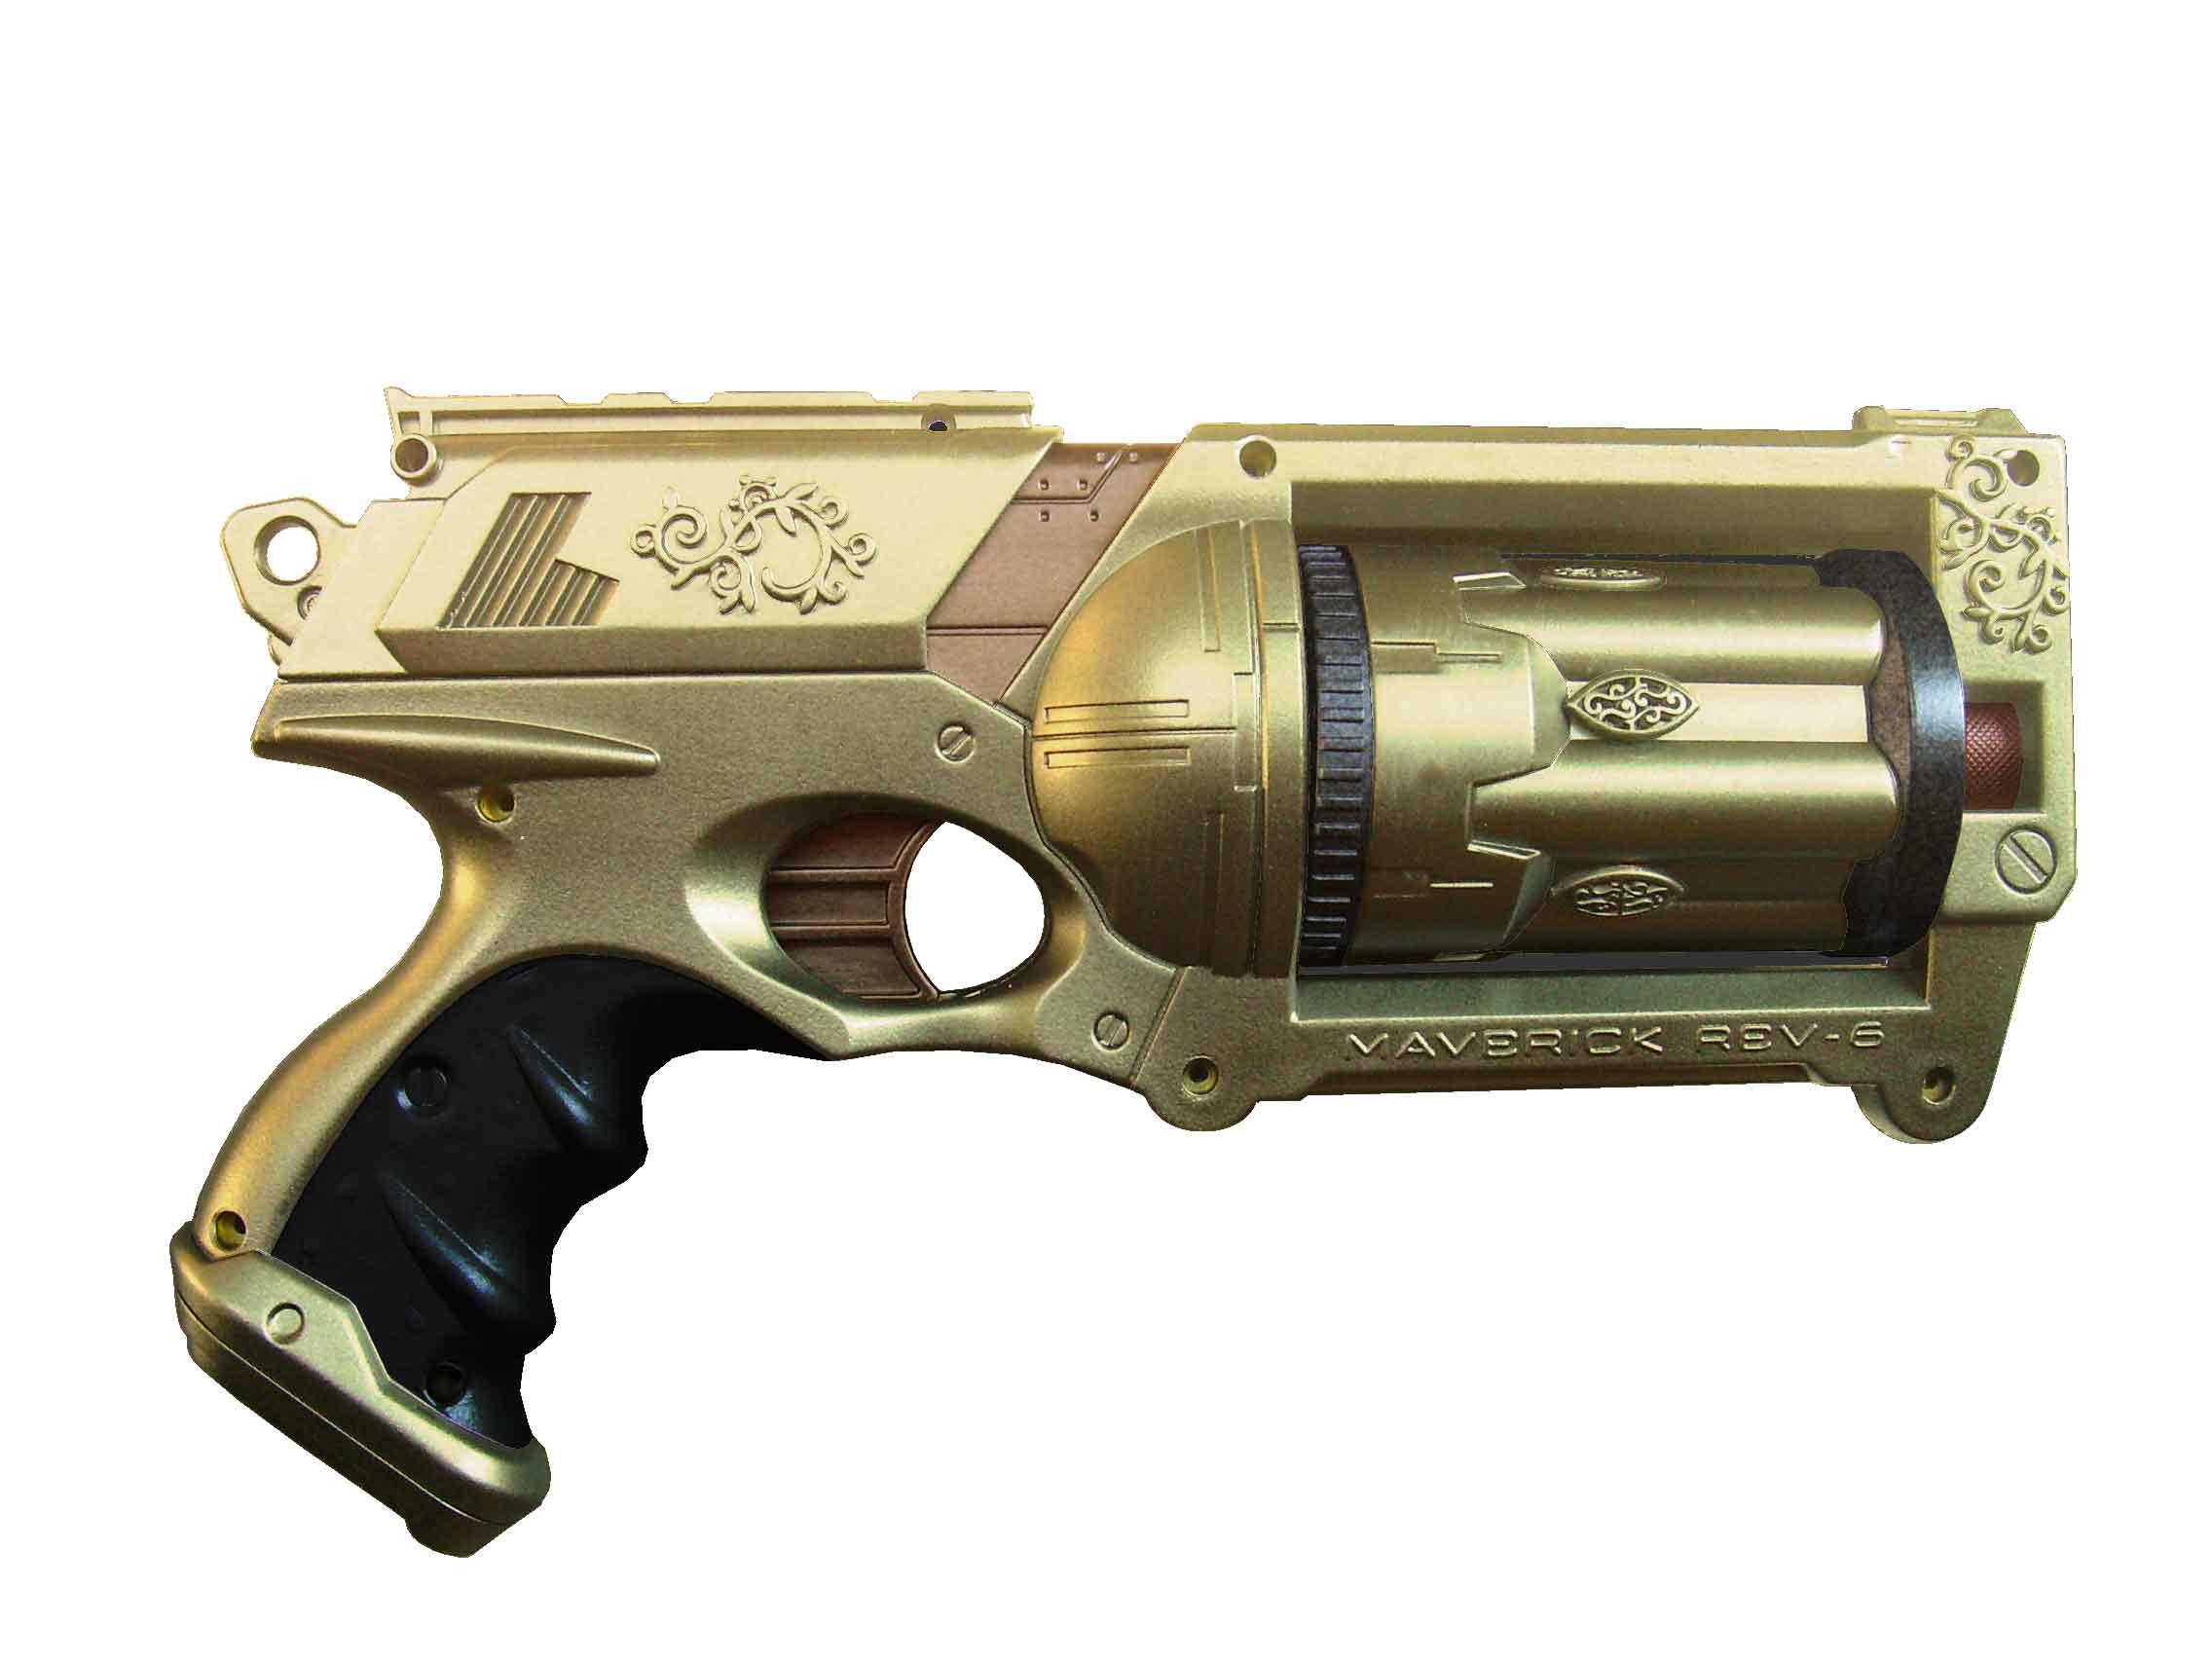
Color scheme 08. Black on the grip, simpler color scheme, and the flourishes are not highlighted at all. I think that this is the scheme I will use, but I will sleep on it.
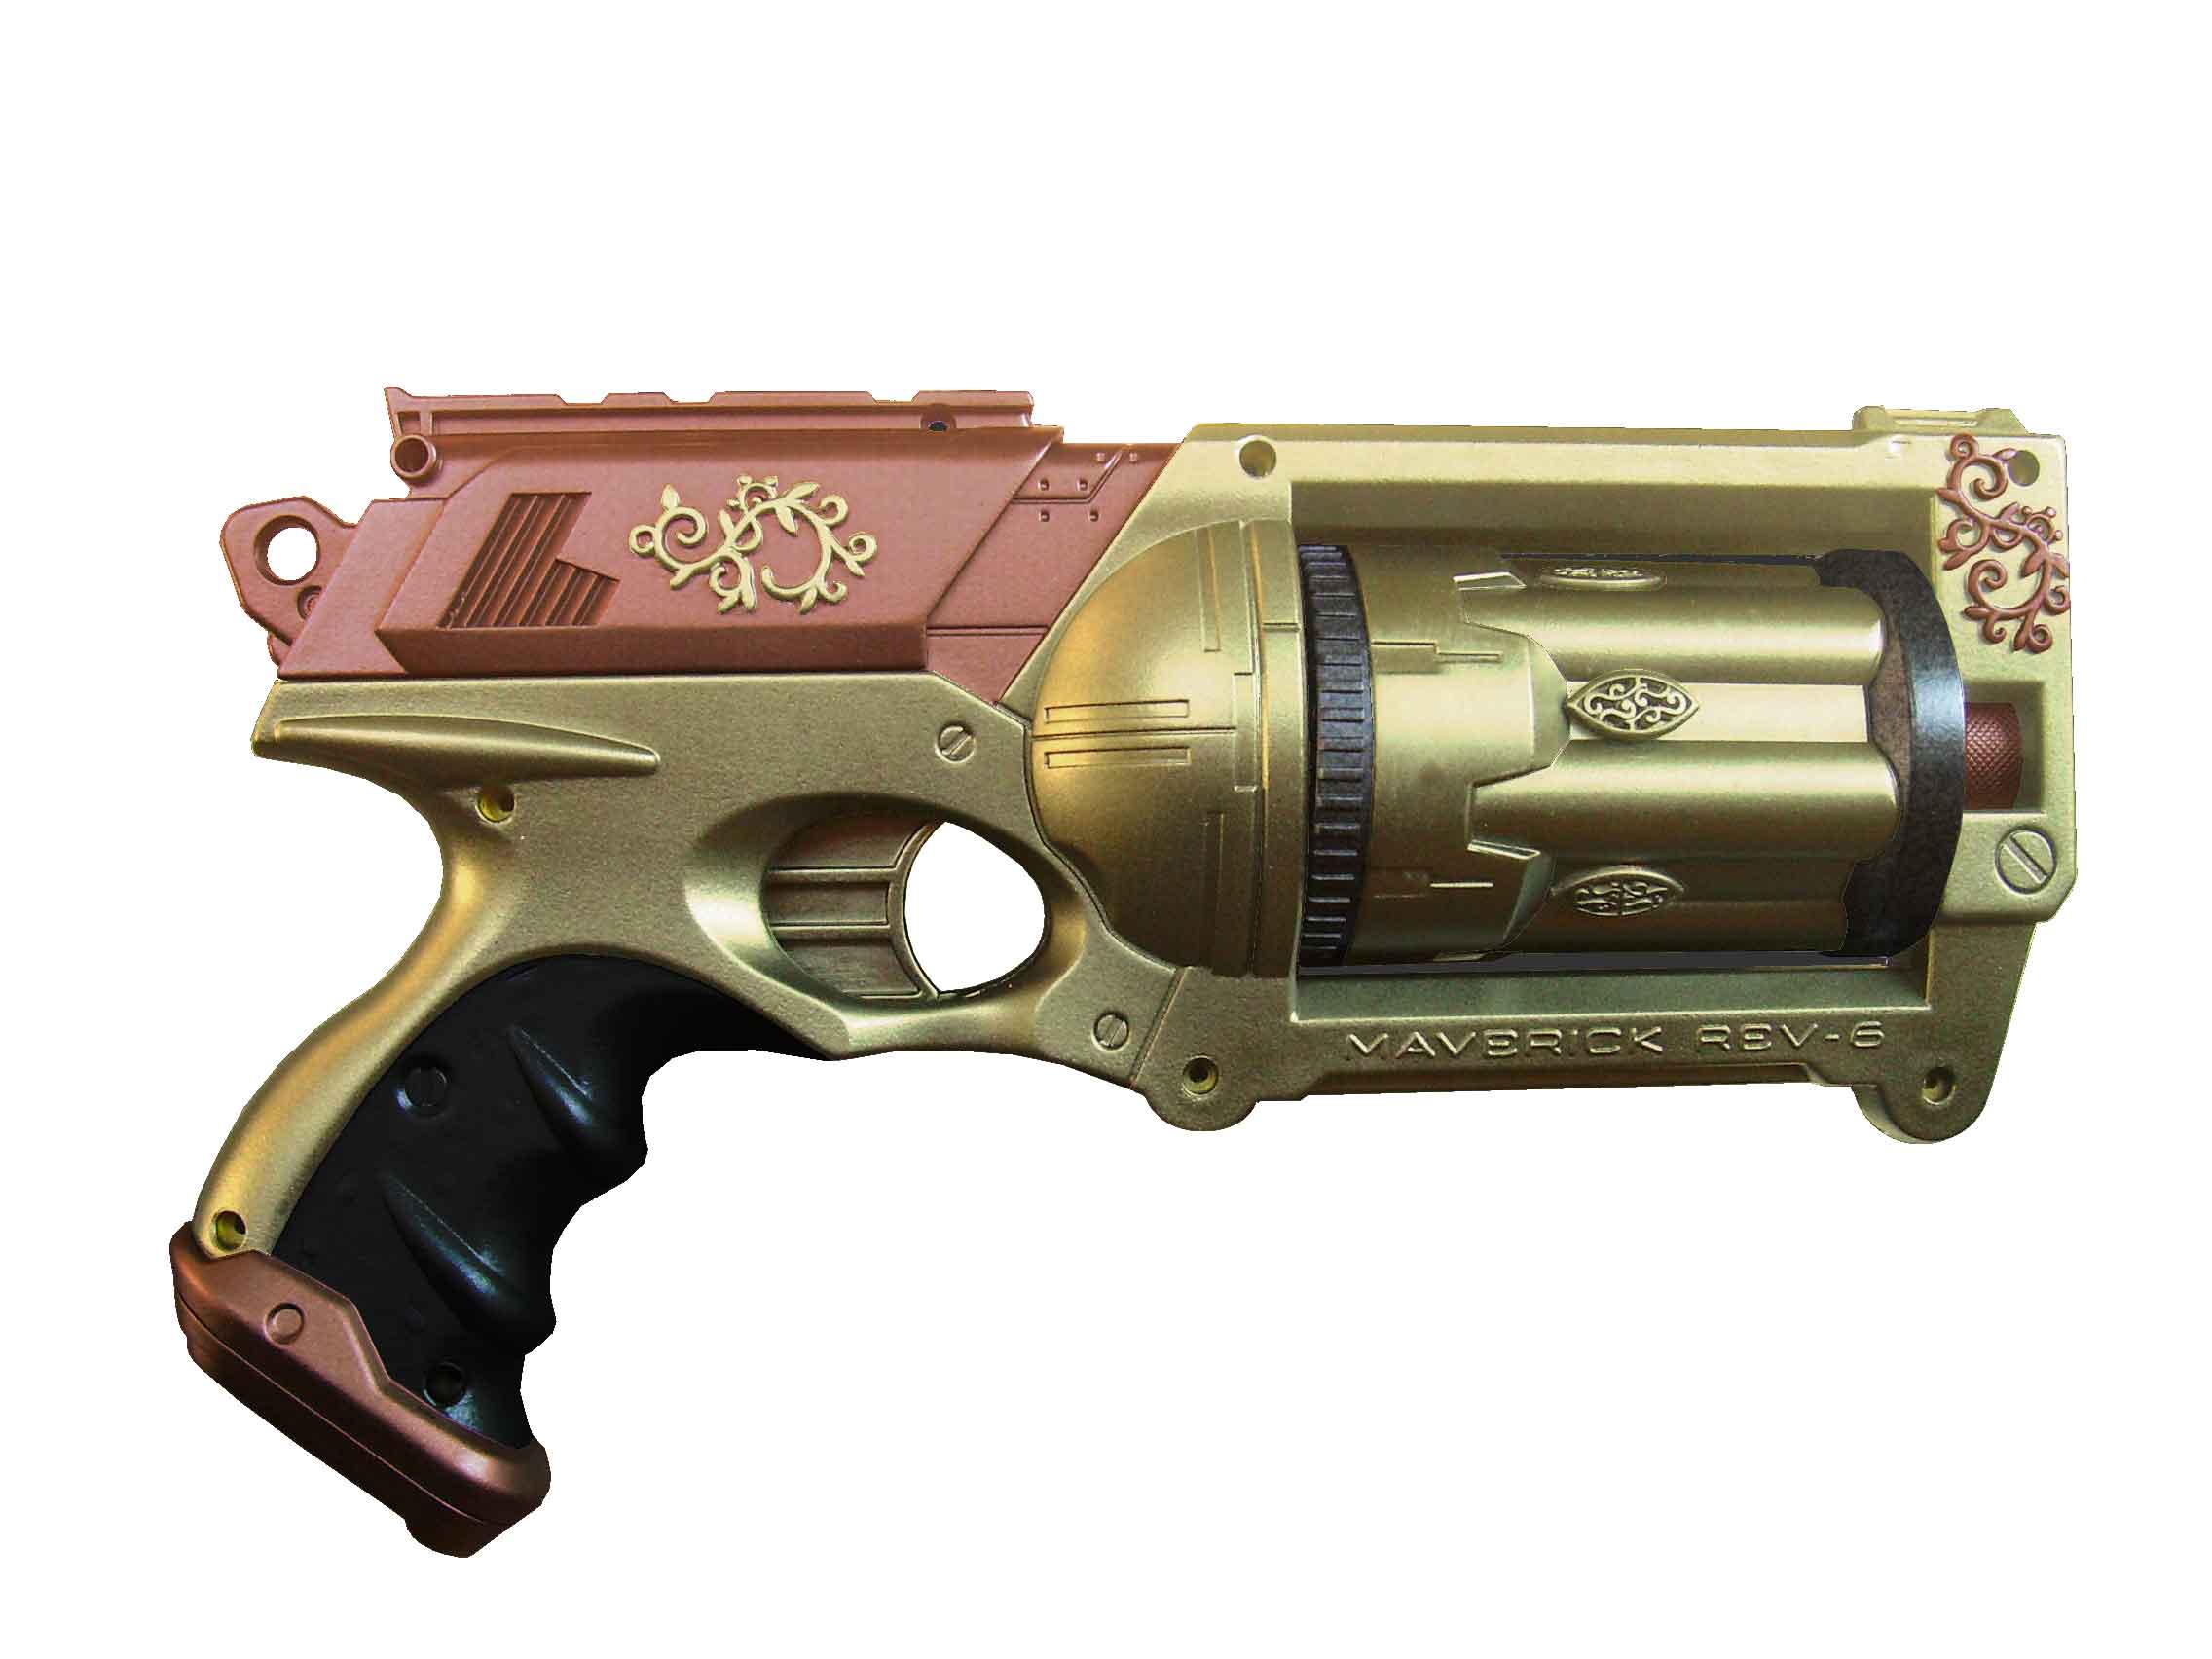
Color scheme 09. Copper slide, and the decorations on the slide and frame are highlighted. I think I like scheme 08 better.
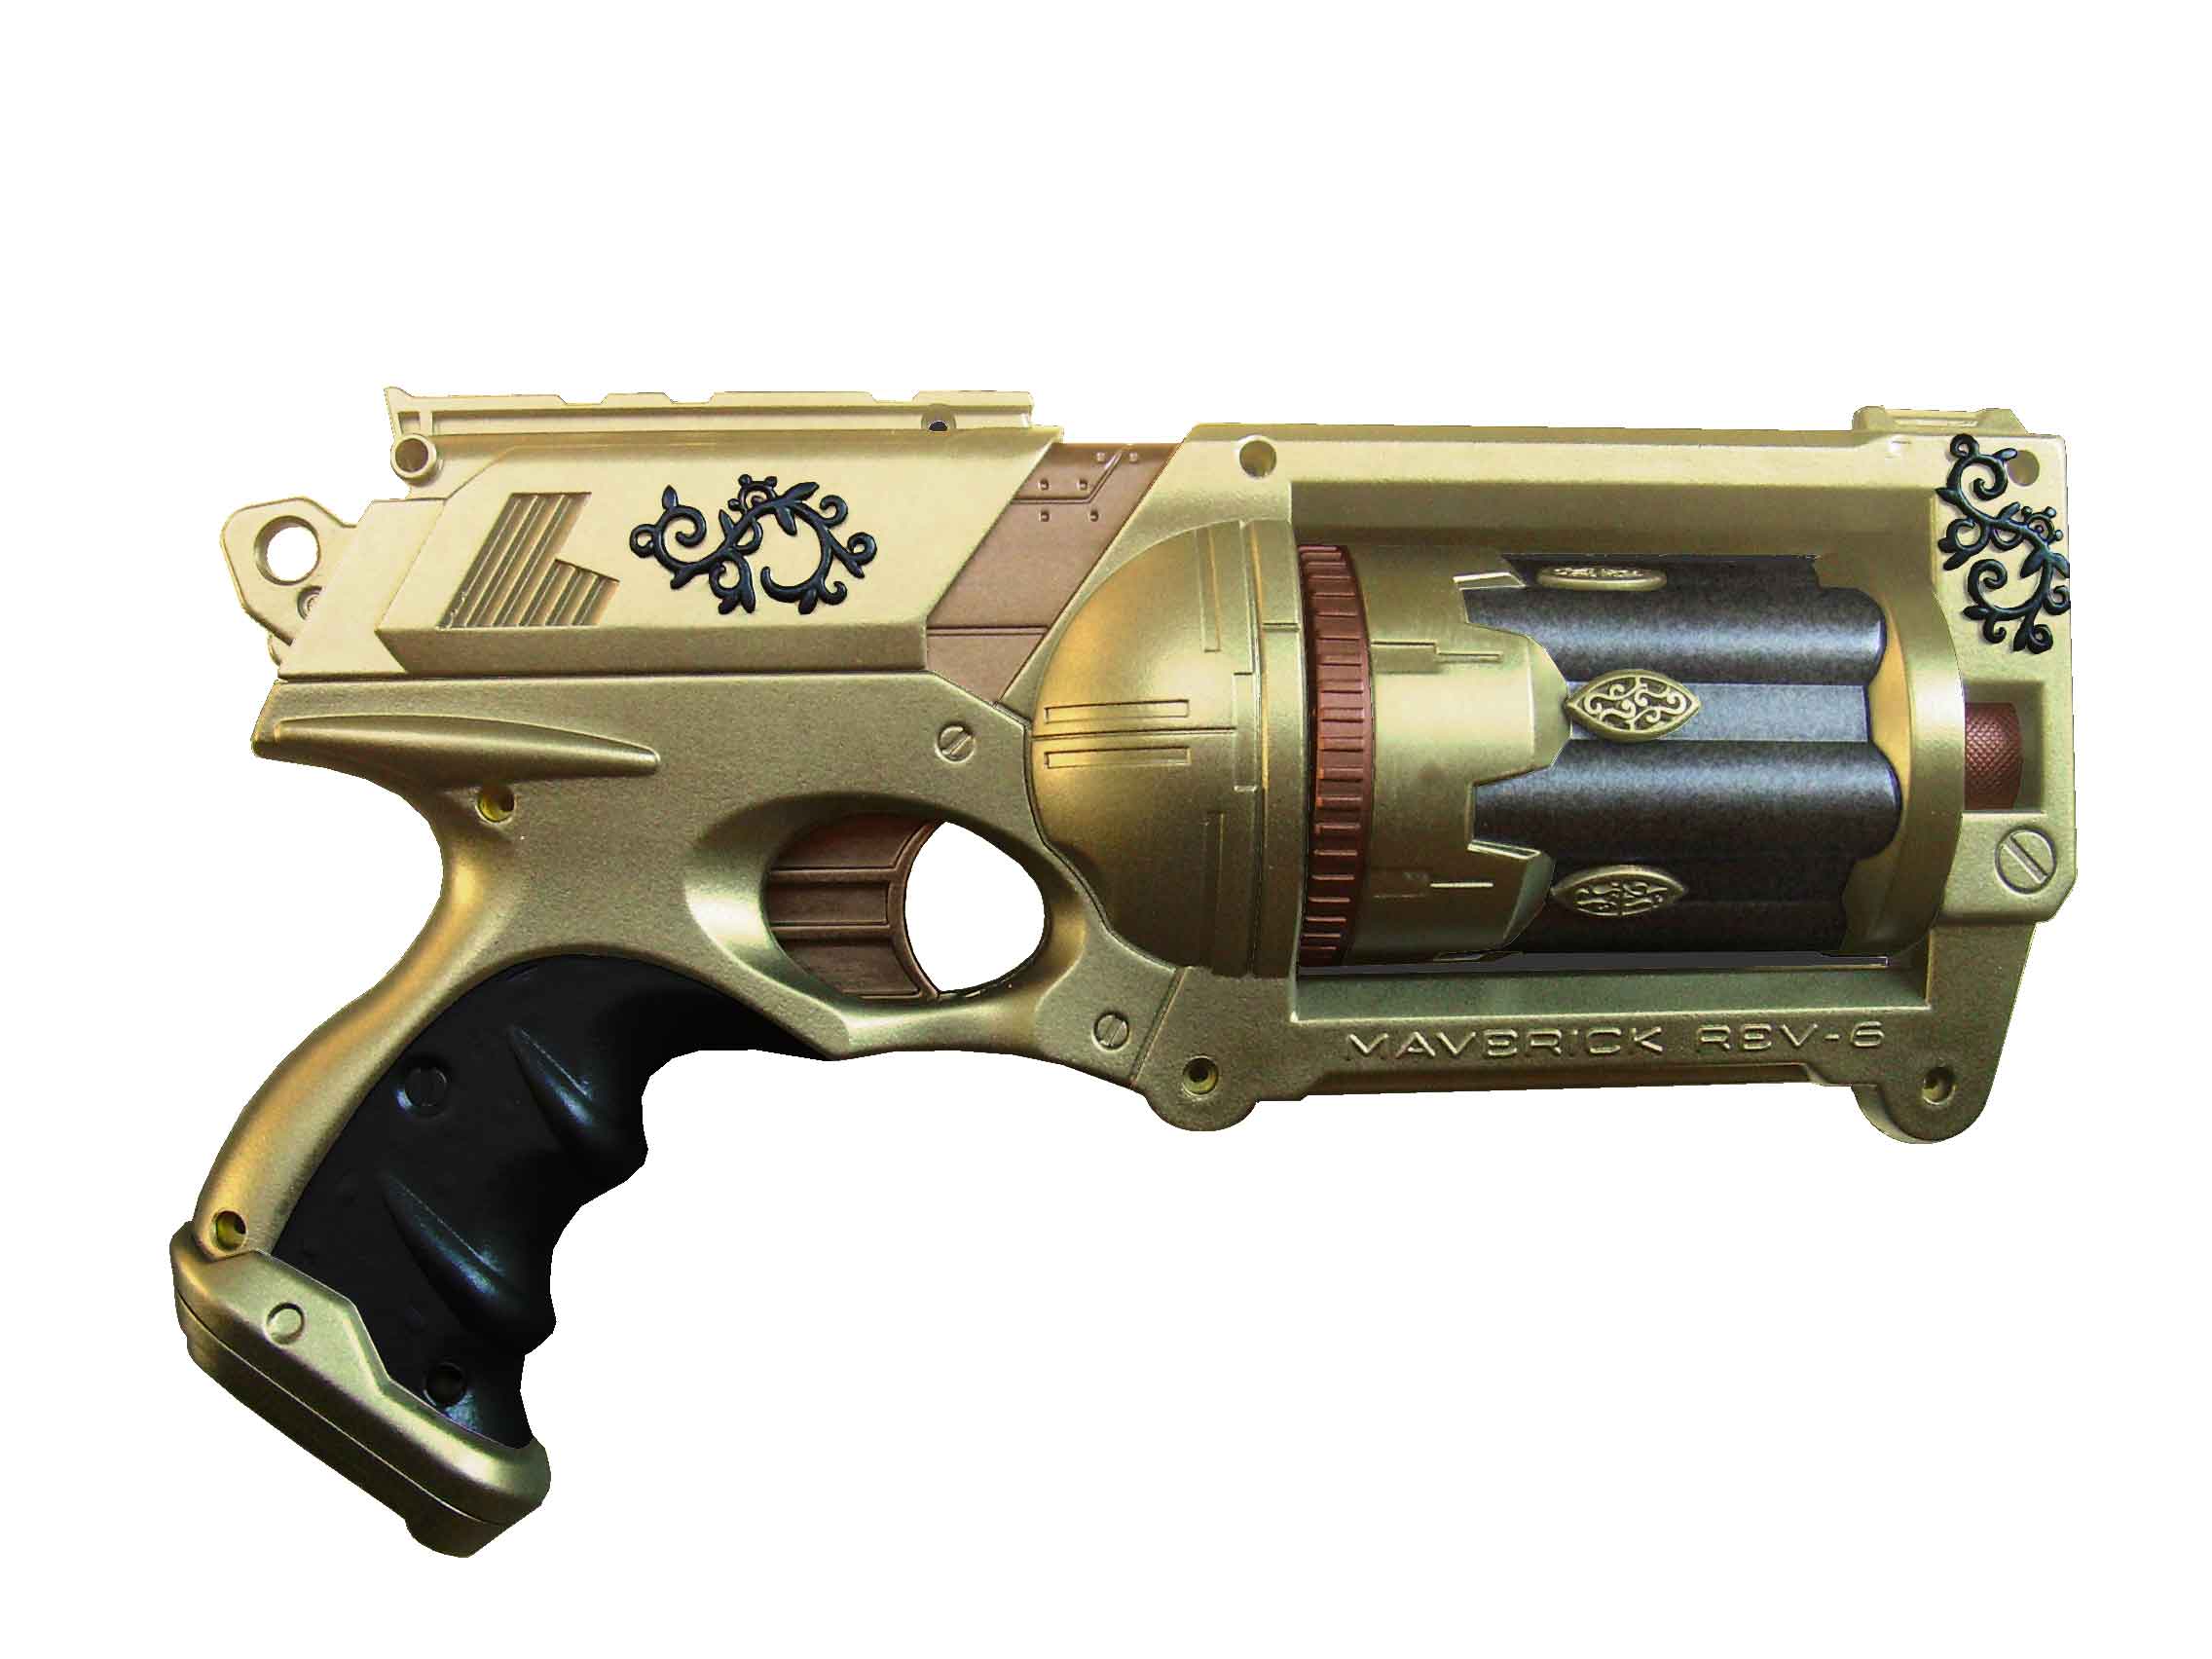
Color scheme 10. Black grip, black highlights, some more color on the cylinder.
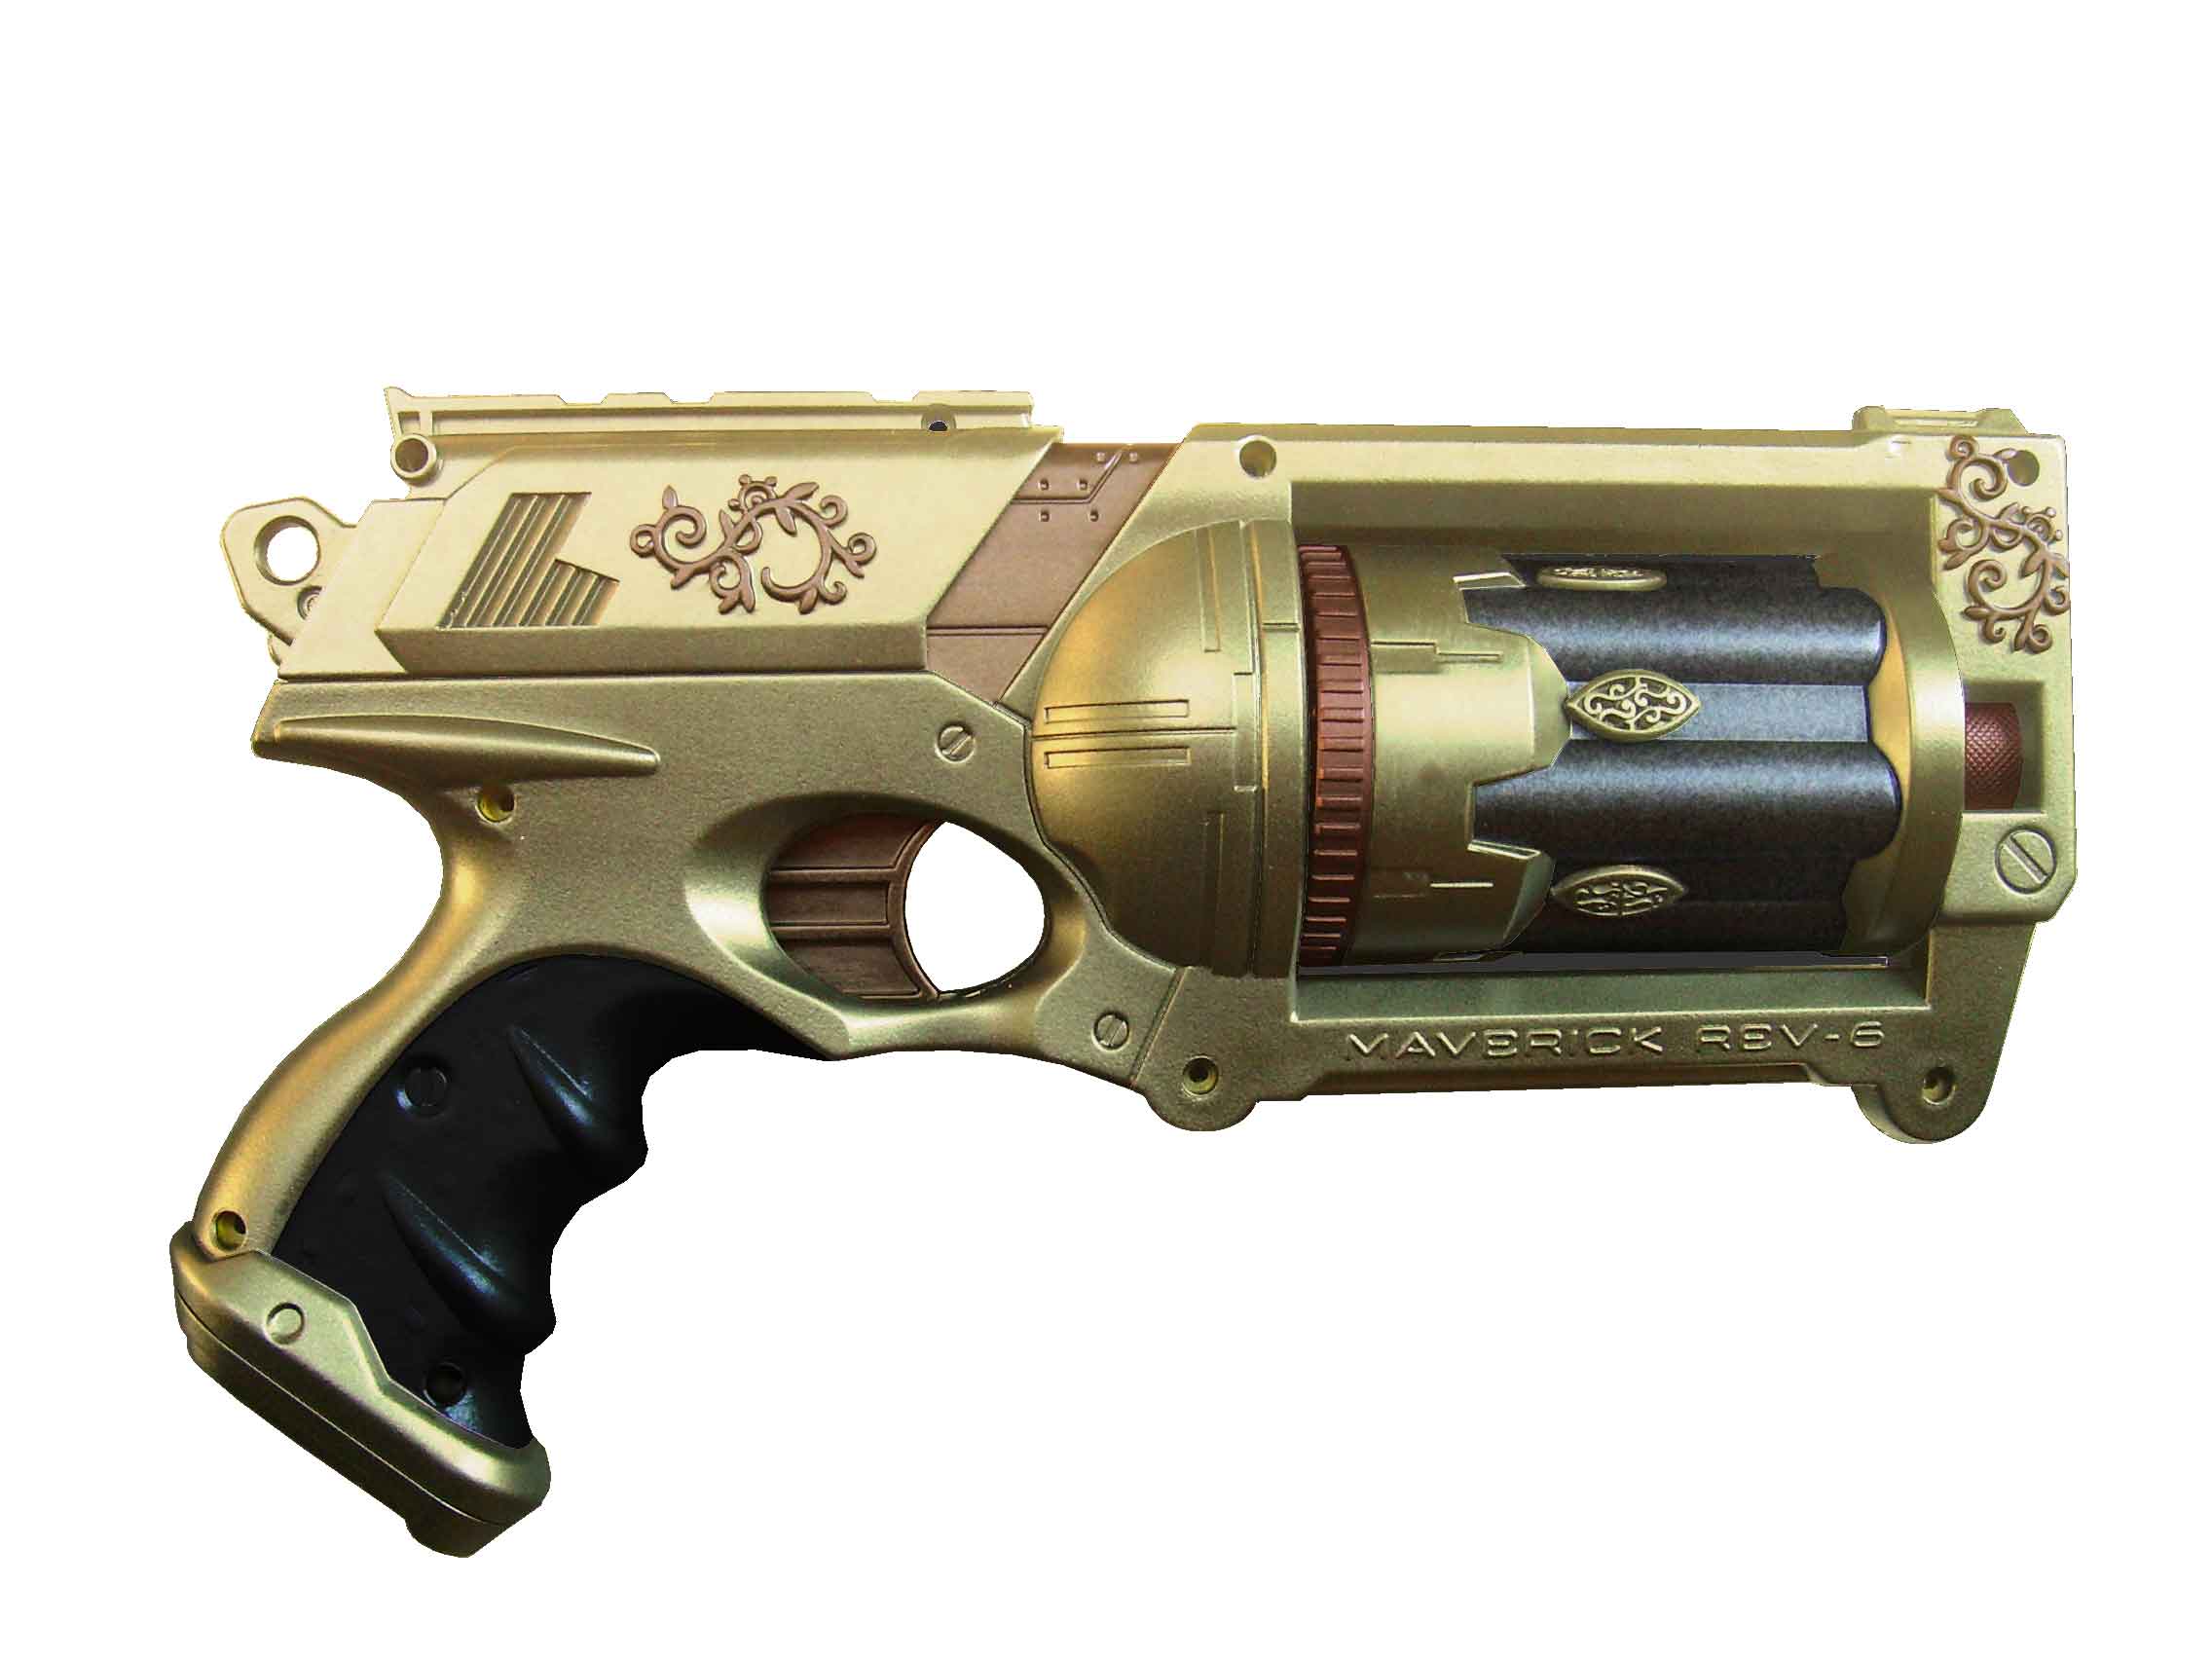
Color scheme 11. Same as 10, but with caramel frame and slide decorations.
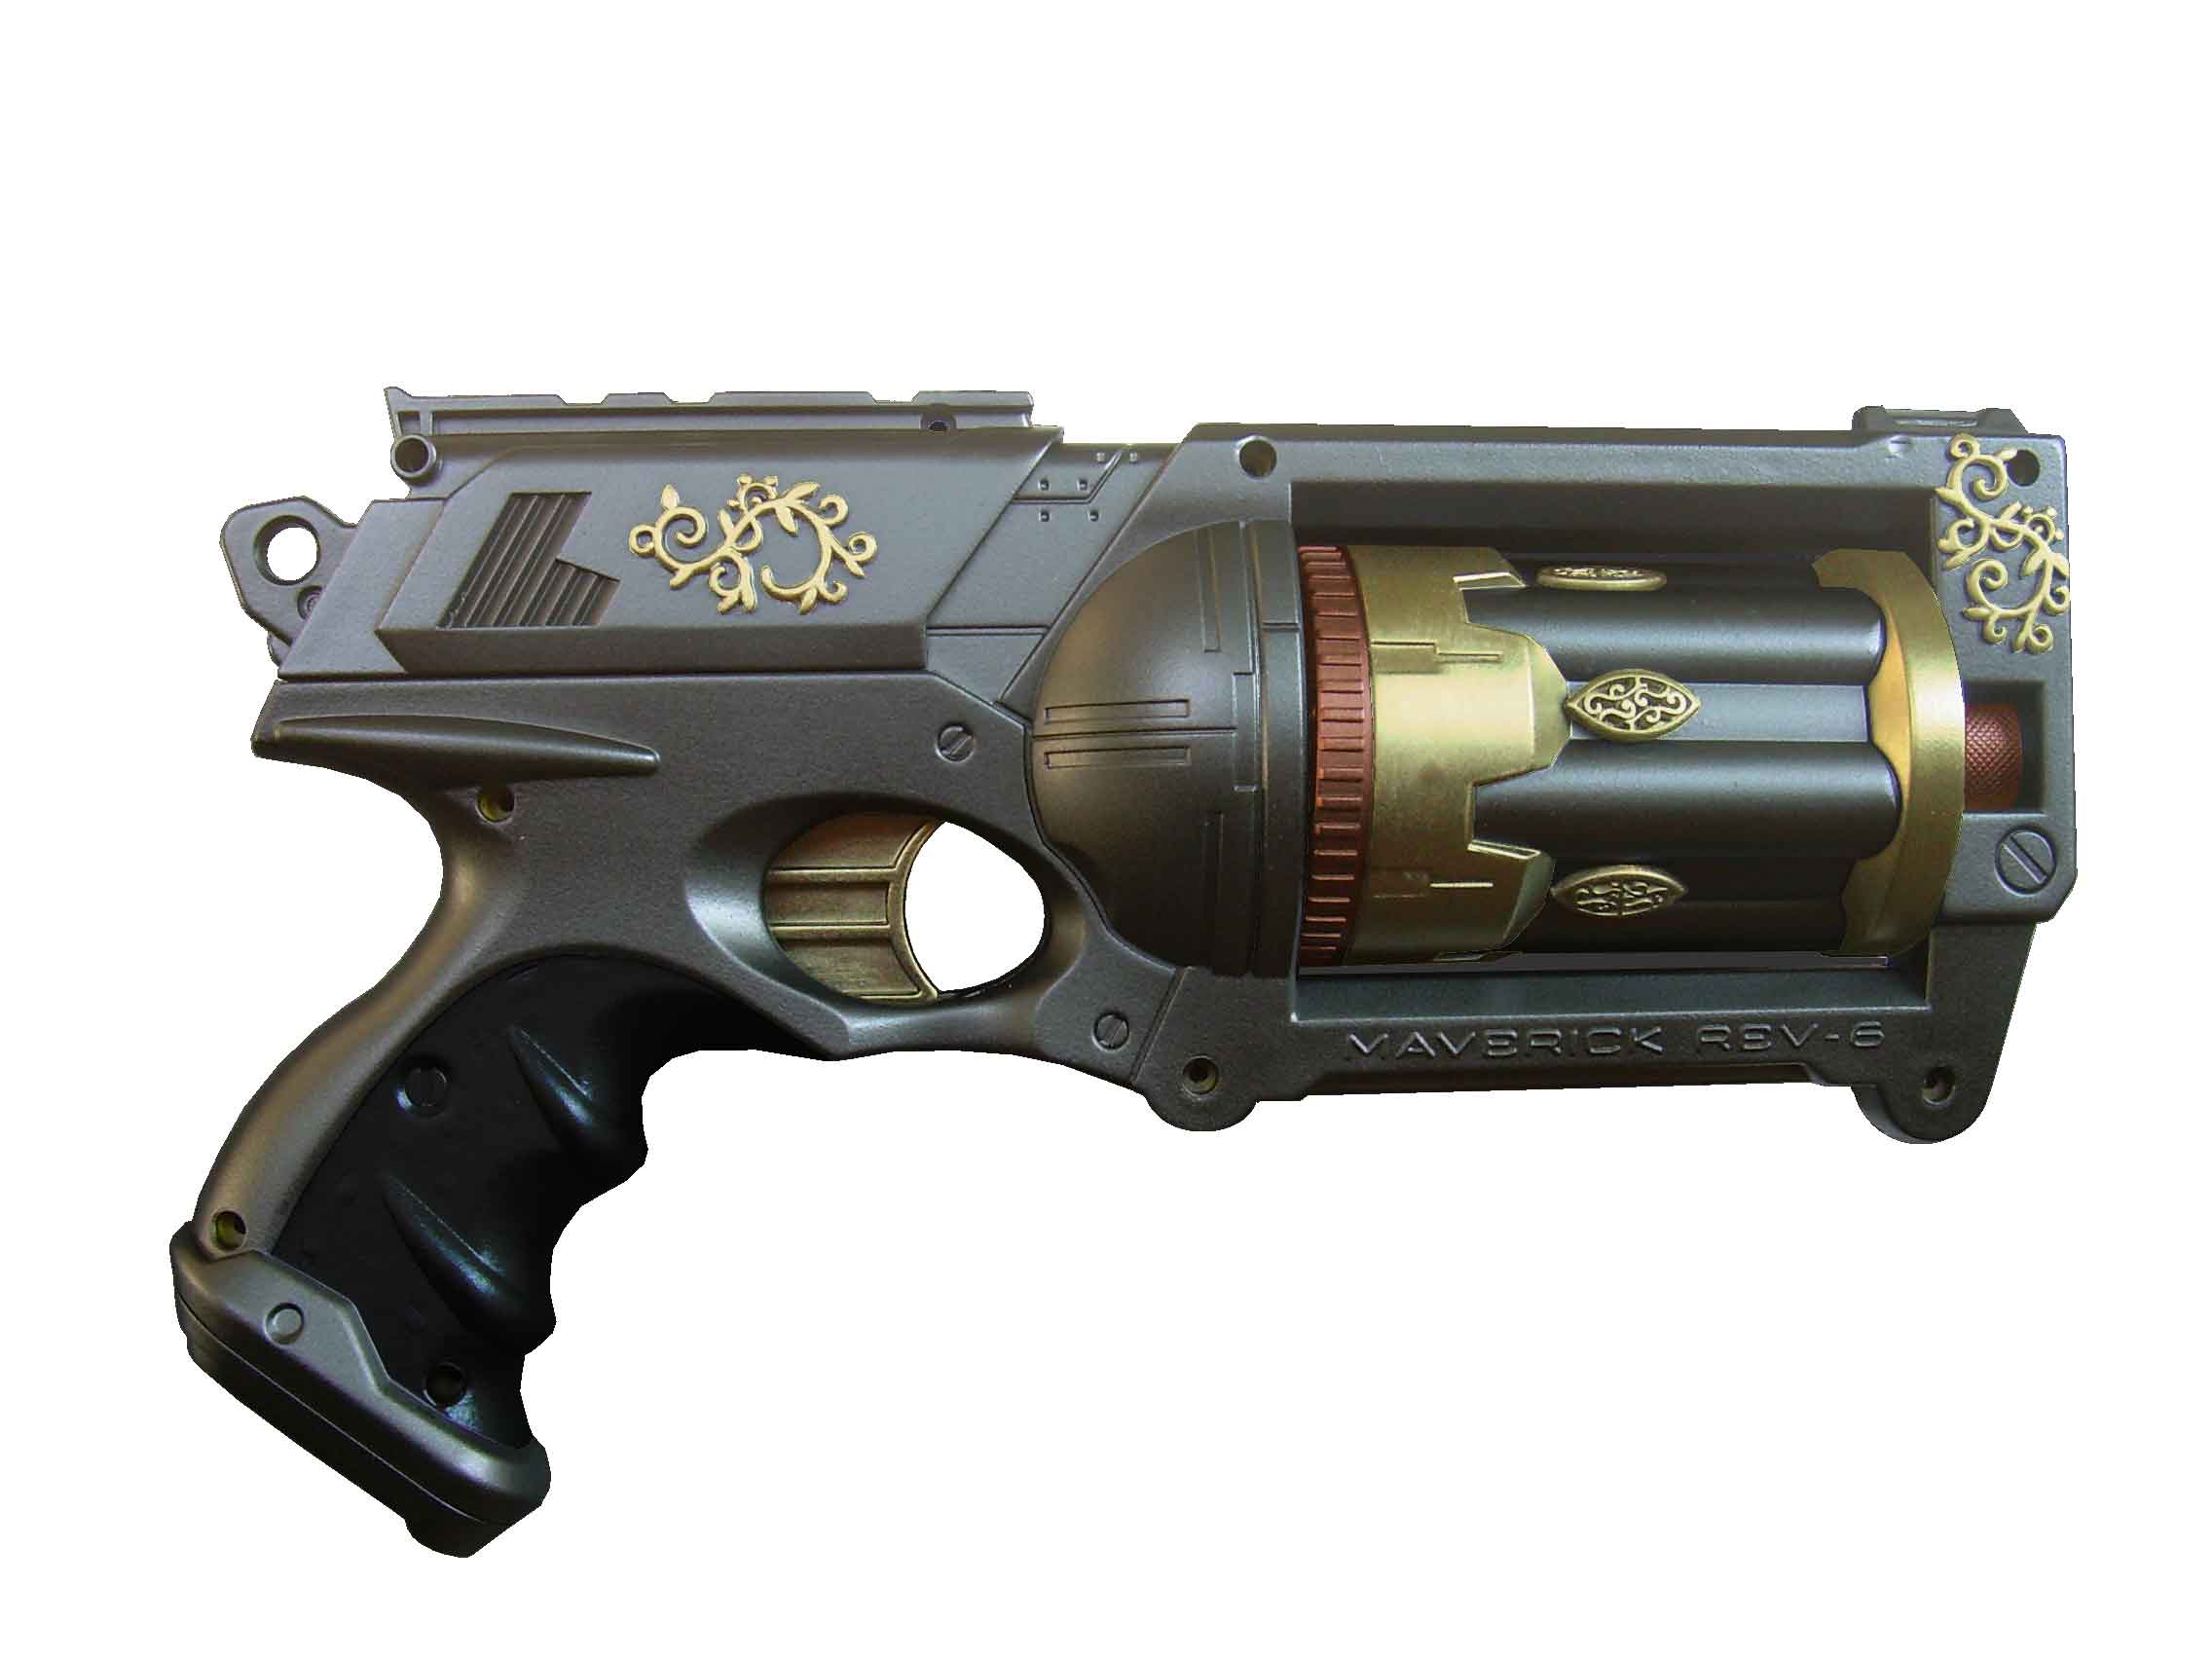
Color scheme 12. Something different: black frame, brass and copper highlights.
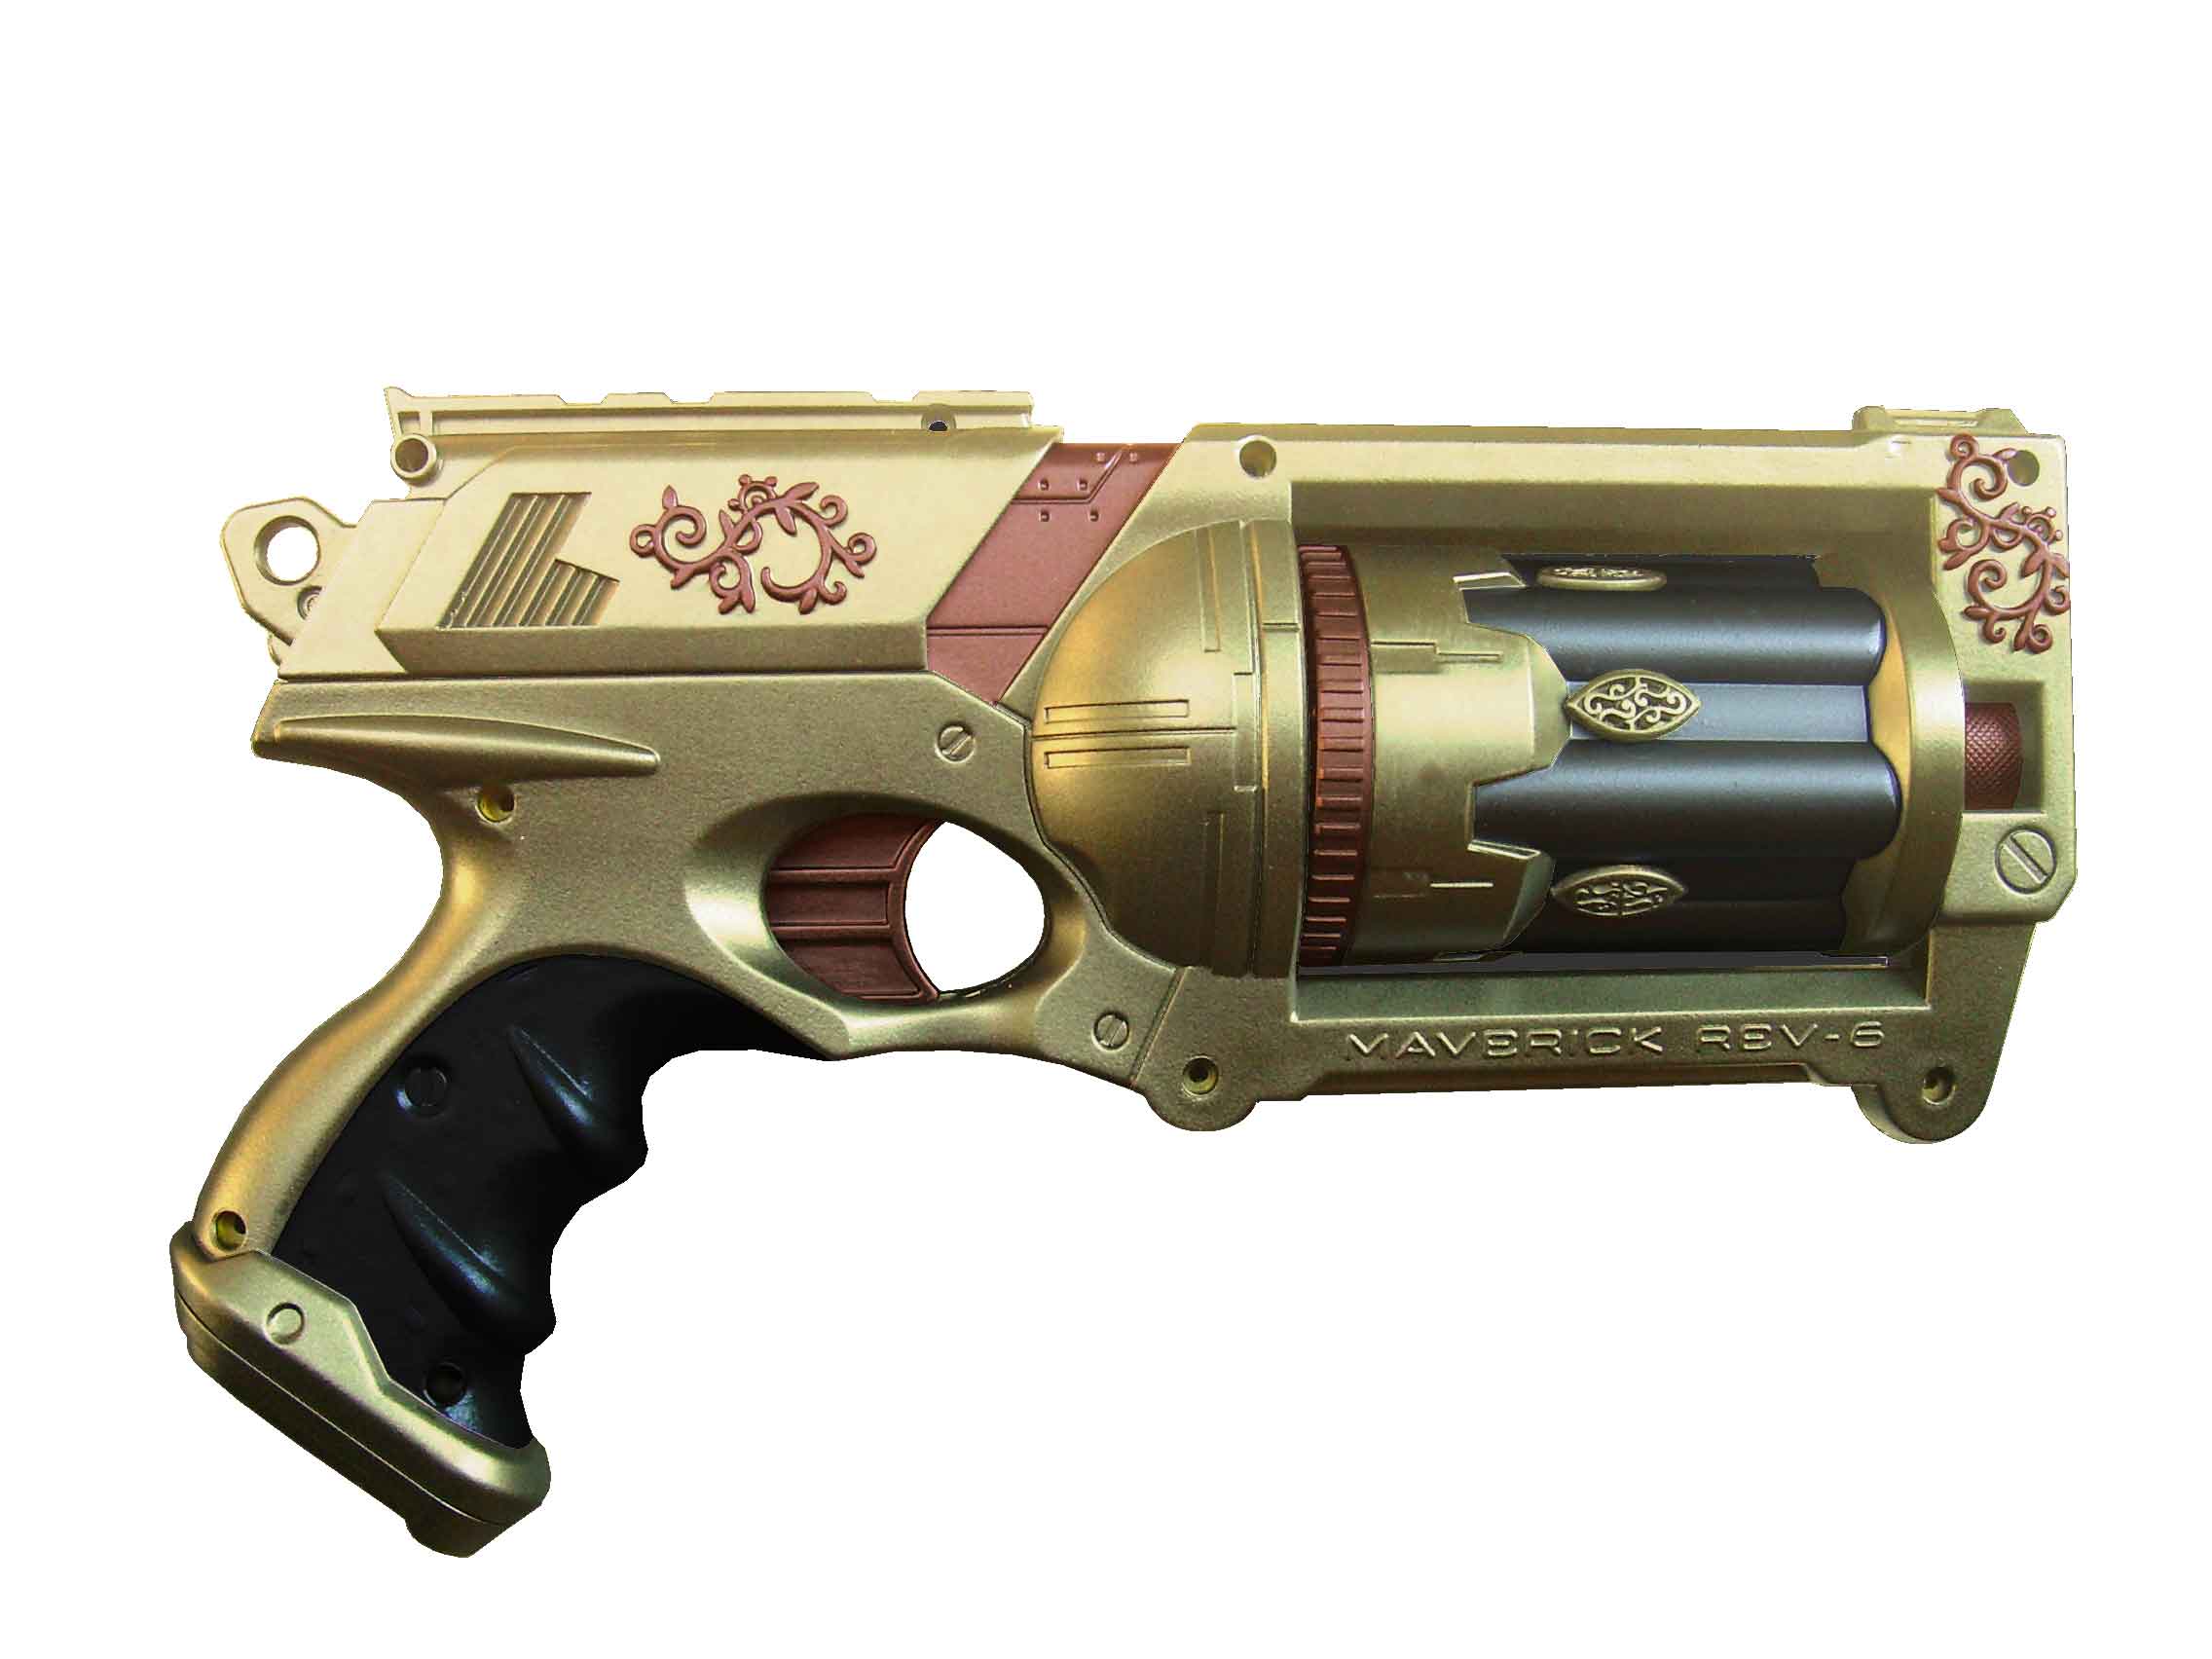
Color scheme 13. Same as 10, but with copper frame and slide decorations.
![[x]](/images/sigil_md.jpg) Blackmoor Vituperative
Blackmoor Vituperative


 I think it’s time to address the elephant in the room. We all know it, and no one wants to say it. Well, I am done with the charade.